
How to manage the users list - Second part
Today we will focus on the step-by-step description of the manual “user creation” procedure. In fact, it is also possible to import users via CSV files, for massive subscriptions. Let's take as an example the creation of the user 'Mario Rossi' in the organization chart “Milan District” which is in the following position of the organization chart: North / West HQ-> Area Manager Lombardy -> Milan District
First phase: Identification of the node in which to insert the user
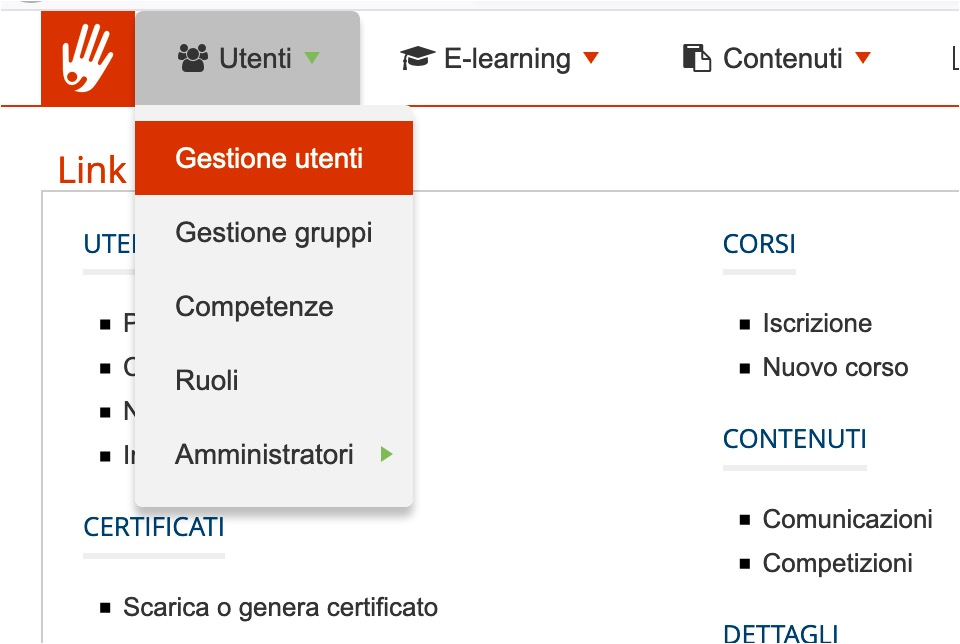
Go to Administration / Users/ Users Management
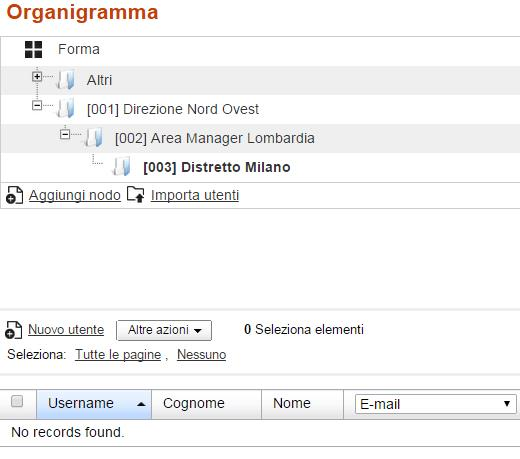
We select the node in which to insert the user in the organization chart tree
To create our first user, simply click on the “New user” button, after which a screen will open for entering user data. It is possible to associate the level of permissions to be associated with the user.
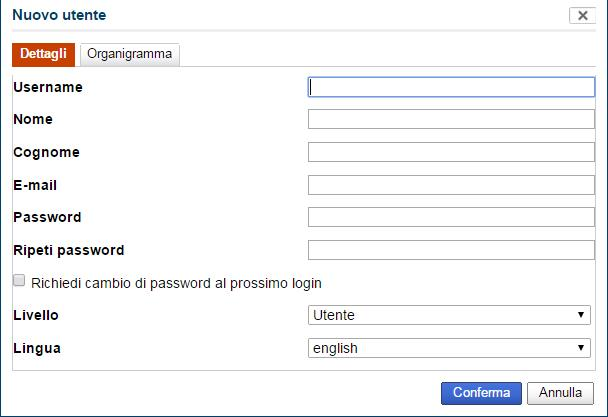
Those shown in the above image are the standard fields that the platform makes available. It is possible to create custom fields that, suitably associated, would be shown in this user entry screen.
The fields provided by FormaLMS are:
- Username (which also represents the login to access the platform) — must be unique
- First name
- Last name
- Password (it is possible to define the policies that can be used by configuring the platform)
- Repeat the password
- Level (user, administrator, public administrator, super administrator)
- Language
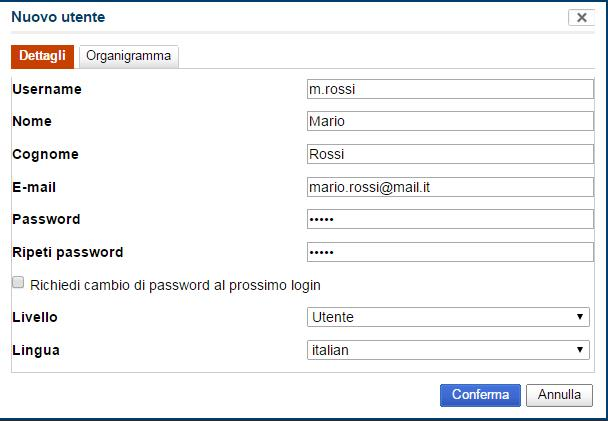
At this point, it is possible to enter the user data by filling in the required fields, then click on the “Confirm” button. Using the “Organization chart” tab, it is possible to modify the organization chart of the user being created.
At this point it will be possible to trace the user within the organization chart node in which we created him or by searching among all users (Img. 5). By entering the name, surname, or username it is possible to search for the user through the standard search as shown in the image below.
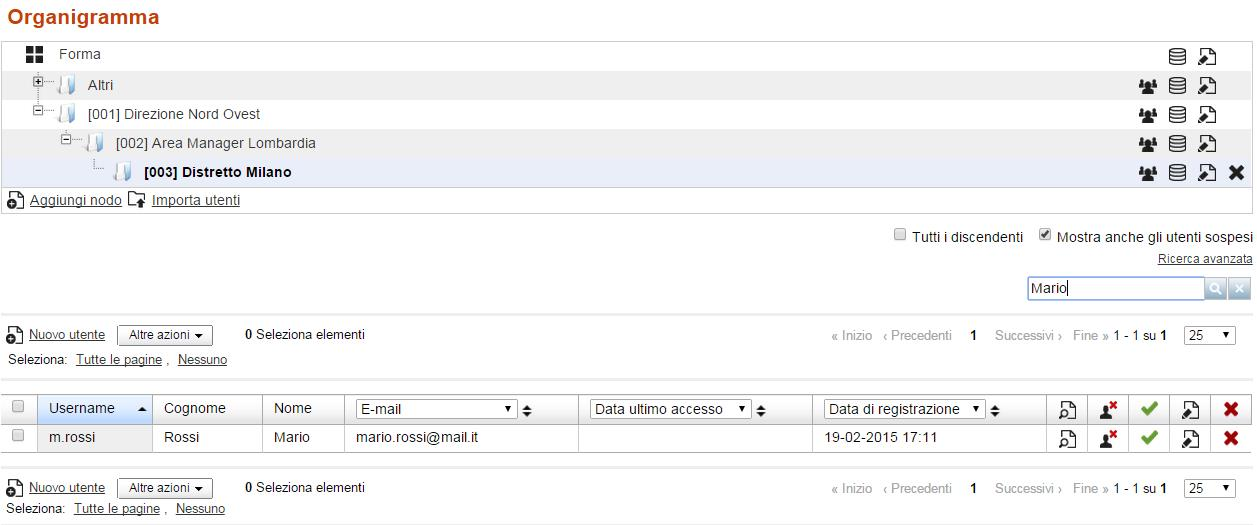
If you want to search for the user for a specific field, you can use the advanced search. Just click on the Advanced Search link (Image below, highlighted in red).
In this example we are looking for all users who have a registration date after 01/02/2015

It is possible to modify the user created at any time using the edit button or delete the user.

Massive user functionality can be very useful. In fact, by making a selection of the users on which you want to operate, here are the actions that can be performed on them:
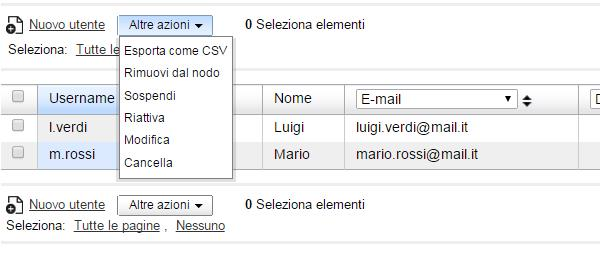
- Export users to CSV files
- Remove them from the node they belong to
- suspend them
- reactivate
- change them
- delete them
The difference between suspension and cancellation is of fundamental importance. In fact, by deleting a user, its usage data will also be removed, while by suspending it, the user will not be able to access the platform but for the administrators it will be possible to view its teaching activity. This functionality is of fundamental importance where users cease to be part of our user population, but it is necessary to produce evidence of the training provided.