How to configure the catalogs
What are the Catalogs for?
The catalog is usually used if you want to allow users to self-register for courses. In some cases — since the courses can be divided into “categories” — it is also useful to show the courses divided into categories. This is especially useful if there are many courses.
Otherwise, it may be better to leave the “catalog” tab disabled and keep only the “elearning” button, which shows the courses in which a user is already enrolled.
The possible uses of the “catalog” function are:
- in general, distinguish between the courses that you want to appear in the “catalog” tab and those that should not appear
- in more detail, it serves to show different catalogs to different users: for example, to show specific topics to specific organization chart nodes or specific roles. Or to specific customers.
In this way we will be able to allow each type of user to see the most suitable courses and to register independently. Let's take as an example, a company that wants to offer employees in the Sales Area, a catalog that includes a list of courses from which the user can choose which one to enroll in.
Below is the simple procedure for creating and configuring the catalog.
Create a Catalog
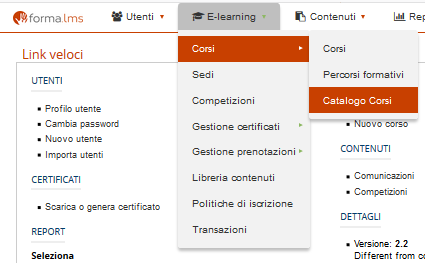
Go to Administration / E-learning / Courses / Course Catalog
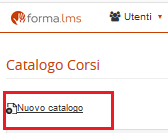
To create a catalog, click on the “New catalog” button
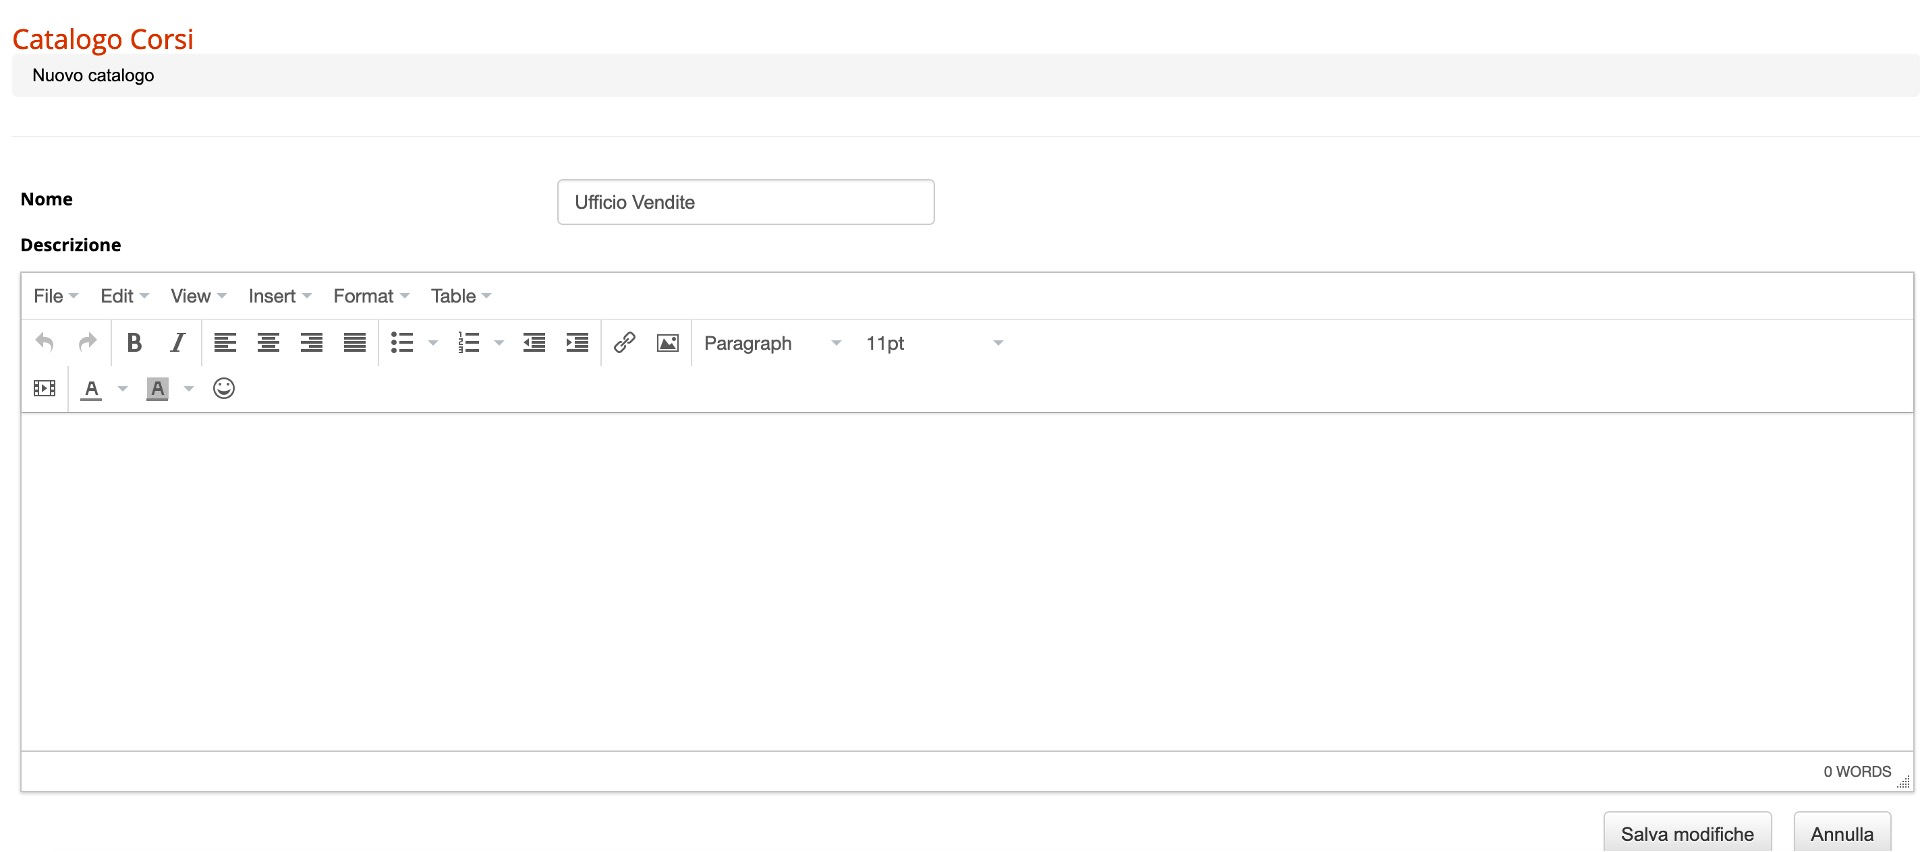
Enter the name of the catalog and click on the “Save changes” button. Following our example, we will call the catalog “Sales Office”.
Configure the Catalog
For the configuration of the catalog we just created, we have several available buttons / icons. Each of these allows for a different configuration. Let's see them in detail.

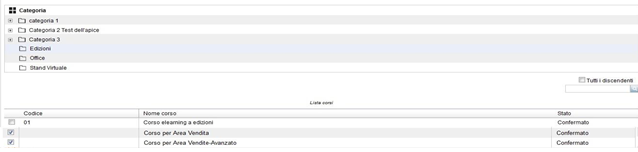
By clicking on the first “Show catalog items” icon, you can select and insert courses within the Catalog. Just put the check on the courses you want to insert. Following our example, we will insert “Course for Sales Area” and “Course for Advanced Sales Area”
By clicking on the second “Assign Users” icon, the users that you can assign to this catalog can be chosen as follows:
- users belonging to one or more specific groups
- users belonging to one or more nodes of the organization chart
- users who play a role that we want to be able to view the Catalog.
According to our example, we choose that all users entered the “Sales Area” node of the organization chart to view the Catalog and the courses it contains. Then put the check on “Yes” and then click on “Save Changes”

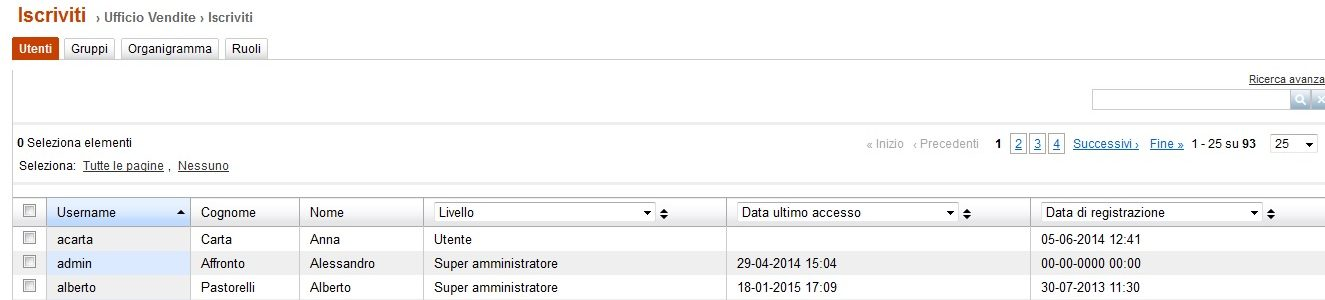
By clicking on the third “Register” icon, you can choose the individual users who are supposed to view the Catalog or the users belonging to one or more specific groups or the users entered at one or more nodes of the organization chart or the users who hold a role
By clicking on the fourth and fifth “Edit” and “Delete” icons, you can change the title of the catalog and delete it respectively.
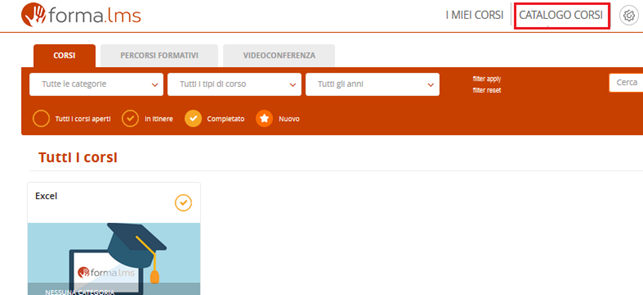
View the Catalog in the menu
Forma Lms gives the opportunity to choose whether to display the “Catalog” label in the student menu or to show it only to certain students and not to others. Following our example, we only want users belonging to the “Sales Area” node to see the Catalog label once they have entered the platform. How to do?
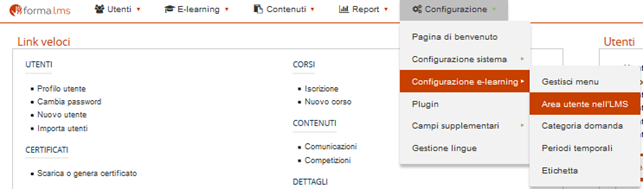
Go to Administration / Configuration / E-learning configuration / User area in the LMS
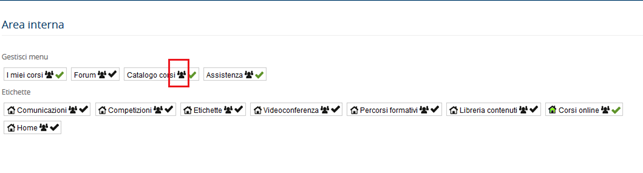
On the page where all the labels are displayed, click on the “Users” icon relating to the “Course catalog” label
At that point you have the possibility to choose which users to display the “Catalog” label, which groups, which nodes of the organization chart, the users who hold a certain role. Following our example, we choose that the Course Catalog label “is displayed by users belonging to the” Sales Area “node

At this point, all users belonging to the “Sales Area” node of the organization chart, once they have entered the platform, view the Course Catalog item