
How to create an elearning course with editions
Create an elearning course with editions
You may find yourself in the situation where you want an elearning course to have different start and end dates depending on the group of users who use the course. For example, you may wish that a group of users, called Group A, takes the course from April 1 to April 30 (after which it will no longer be possible to access it) and that Group B can take the same course from May 1 to 31 May. How to achieve this? Do I need to create two courses with different start and end dates? Not necessarily, you can also create a master course and the various editions related to it, each with a different period of use. Let's see how.
First step: Creation of the master course
Go to Administration / E-learning / E-learning / Course
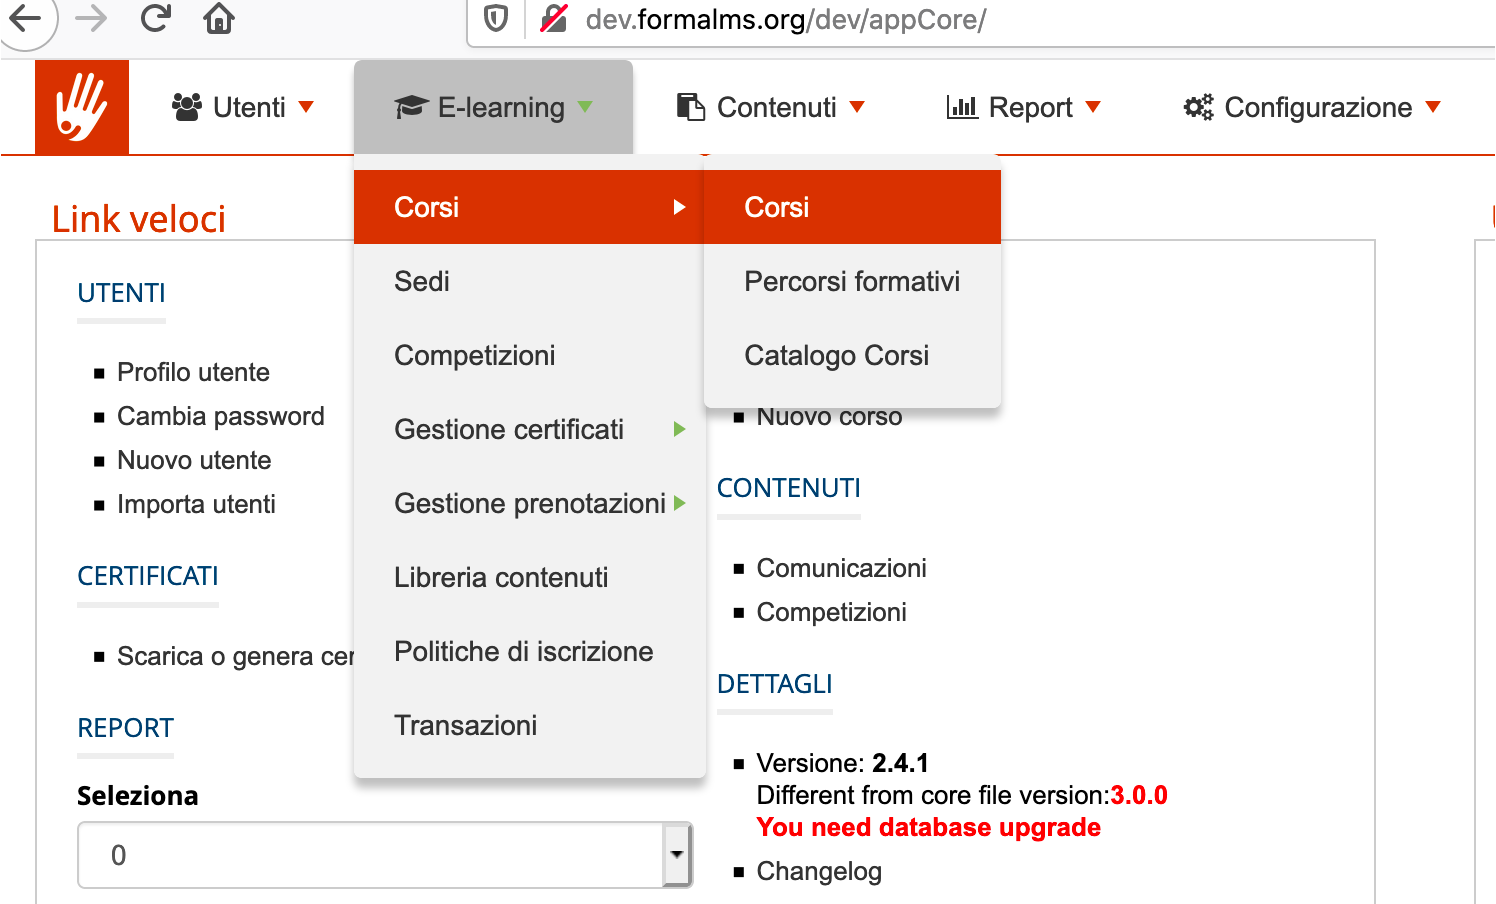
To create a course, click on the “New” button

To find out how to configure the course, refer to the tutorial “How to create a course”.
Pay attention to the central part of the screen, specifically in setting the opening or closing of the registrations or in setting a period in which the user can register.
The period of time available to register must in fact take into account the periods available to be able to register for each individual edition.
For example, in case the course includes:
- A first edition for the month of April (from 1 to 30 April)
- A second edition for the month of May (from 1 to 30 May)
Consequently, the enrollment period of the master course must start, at a minimum, from April 1, 2014, or you can leave the field blank.
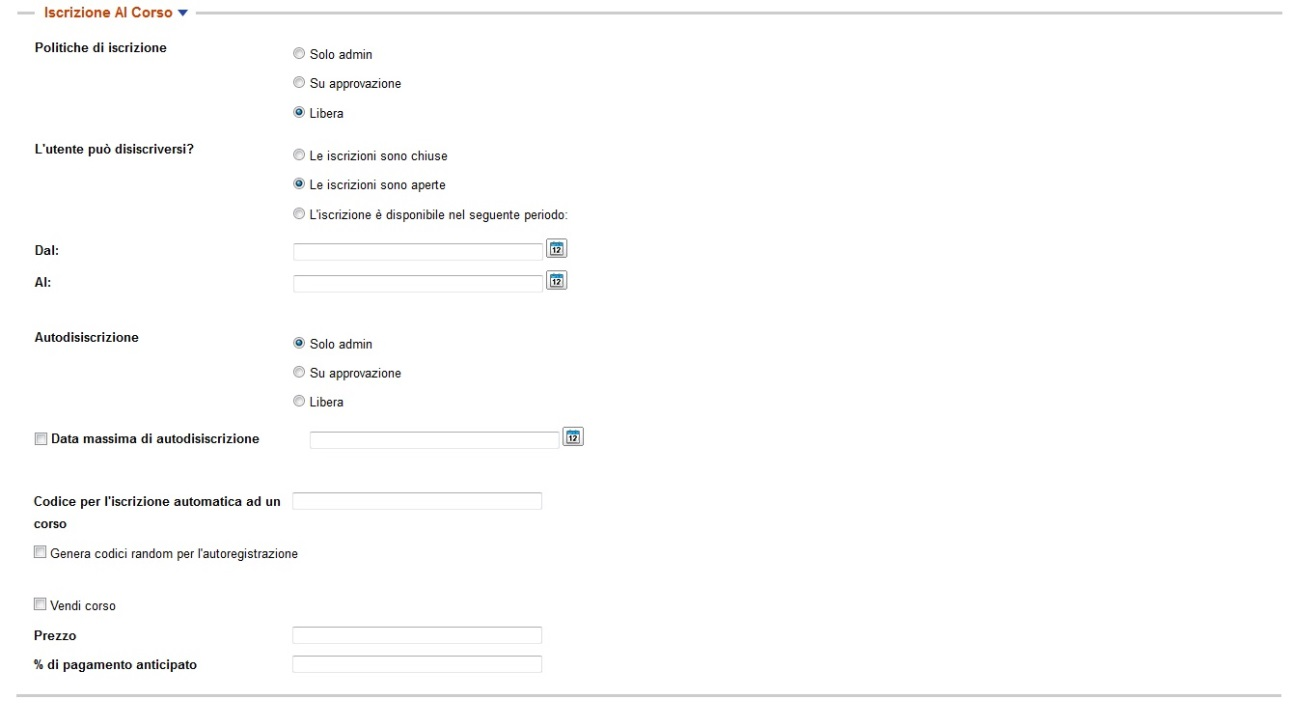
Additionally, the “Time options” section allows you to set the start date and the end date of the course. In this case, too, to set the start date and the end date of the course, it is necessary to consider all the editions' dates. For example, in case the course includes:
- A first edition in April
- A second edition in May
Consequently:
the course start date will be April 1, 2014
the end date of the course will be 30 May 2014
Or you can leave the field empty.

Once the data has been entered, remember to click on the “Save changes” button
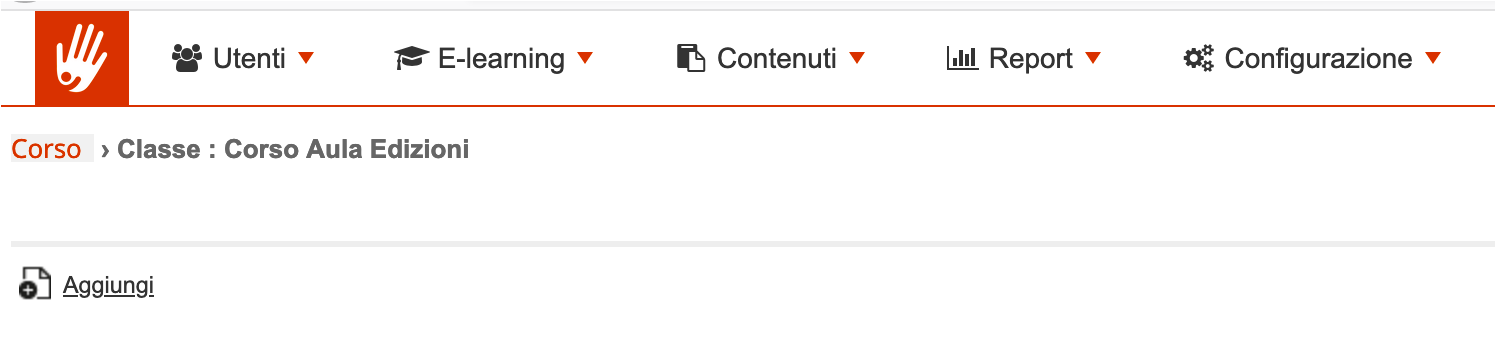
Second Step: Creation of editions
In order to assign editions to the newly created course, you need to click on the edition number.

To insert a new edition, click on the “Add” button
Edition configuration
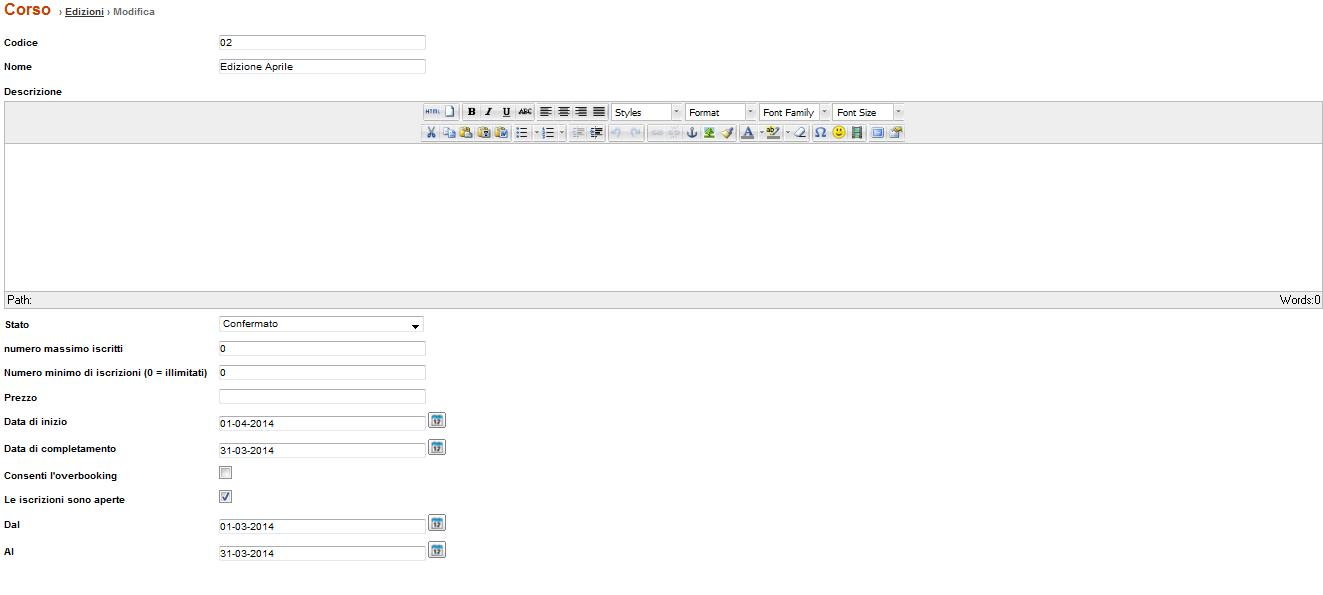
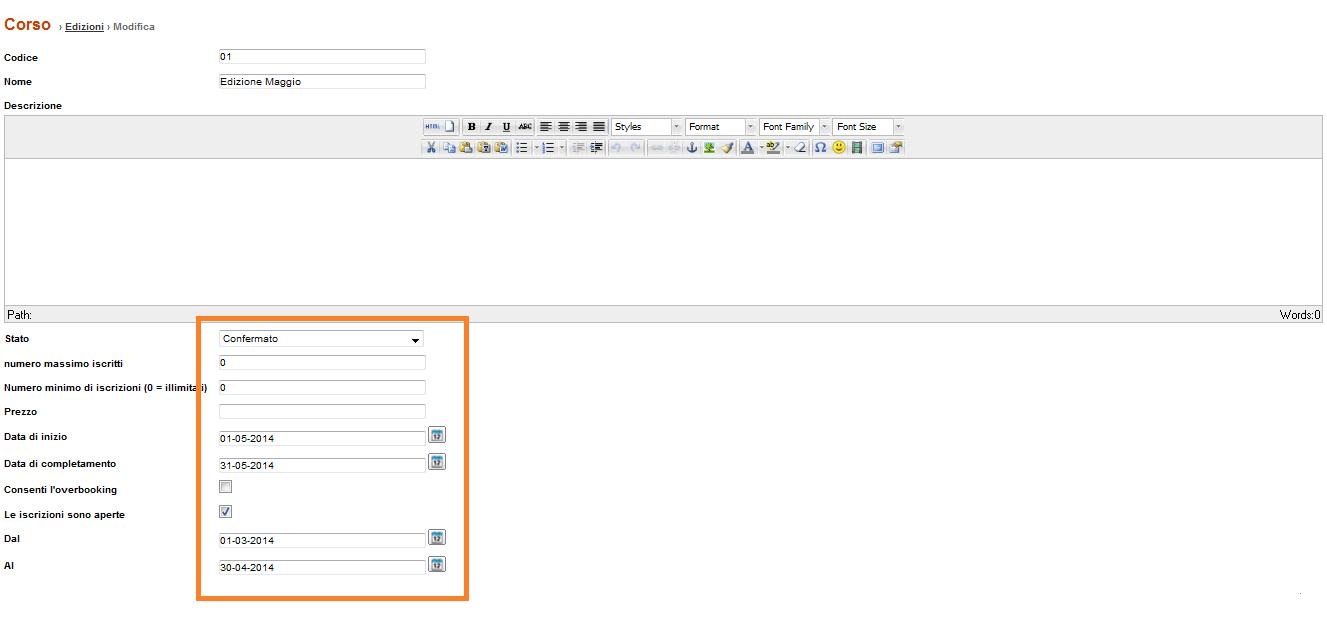
At this point we must configure the first edition. Following our example, the April edition.
It will be noted that among the various options, we can establish the maximum number of participants (and decide whether to accept overbooking). It can be noted that in the part relating to the dates, the enrollment period must be entered or the period of time in which the learners can register for the April edition (which obviously must be earlier than the available period of the edition) and the starting and closing day of the edition. Once the data has been entered, click on the “Save changes” button
The same procedure must be followed to create the May edition
At this point our master course and the associated editions are created.
User registration
As far as enrollments are concerned, we could proceed to enroll users either with the “by admin only” option (see tutorial “How to enroll users to courses”) and enroll them to the group that will have to follow the April or May edition or, always following our example, the enrollment will be free therefore the user, entered the platform, will view the course in the list of courses and will have to click on the “Enroll” button
At that point, he will only have to choose the edition to subscribe to.
