
How to configure the learning materials
In other tutorials we have discovered How to create a course and How to insert learning objects, below we take a look at how to configure learning materials in general.
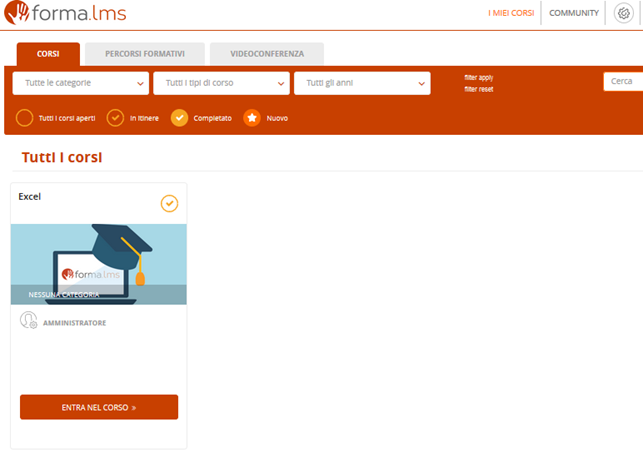
Go to Front end, click on “My courses” and click on the course title. Following our example, we will click on the “Excel” title
To configure the material, click on the menu item “Teachers Area / Learning Objects Management / Course Objects”
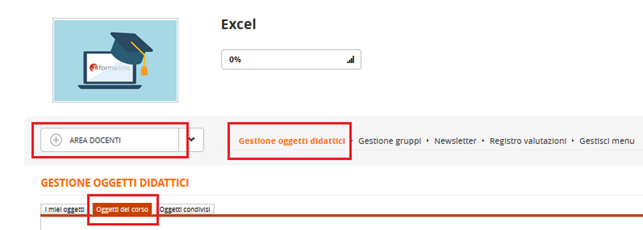
In the right part of the screen you can see all the icons that allow the different configurations.

View icon
By clicking on the first icon, we can simply view the learning object. This comes particularly handy for Course Teacher and administrators: that's how you can display the LO's without respecting the sequence (for testing purposes).
Edit icon
By clicking on the “edit” icon it is possible to set most of the configurations of the learning object.
In this tutorial we see how to configure an object loaded on the platform. (In the next tutorials, we will focus on the configuration of the Test, the FAQ, and the Glossary). In this case, let's take as an example the object “Excel basic aspects”

In the Edit screen we can change the title of the object or choose another object to upload. As always, once the changes have been made, remember to click on the “Save changes” button

“Copy” icon
By clicking on the “Copy” icon, we can copy the learning object and paste it into shared objects so that we can then reuse it, if necessary, in other courses without having to load it again or, in the case of a test, recreate it.
“Properties” icon
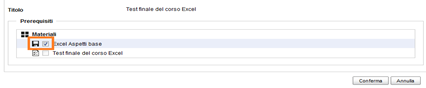
Clicking on the “properties” icon displays two tabs: Prerequisites and Properties. Let's start by seeing what you can do by clicking the “Prerequisites” checkbox.
One of the first options that is usually requested is the possibility of setting the sequencing between the objects. (Simply put, you are asked not to be able to access an object before completing the object that precedes it.) To set the prerequisites, simply click on the wrench icon for each learning object. Following our example, we want to complete the Excel basic aspects form before we can access the final test. We will then click on the “wrench” relating to the final test

At this point, we just have to put the check in the learning object that must be completed in order to access the final test. In our example, we will then put the check on “Excel Basic Aspects”
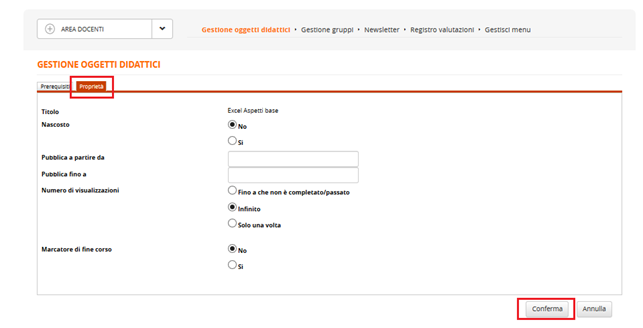
By clicking on the “Properties” tab, we can set other configurations. For example,
- decide whether the learning object is visible to everyone or will be hidden;
- the period of publication;
- how many times a user can view the learning object;
- if the object is the end of course marker (in simple words, if you set the object as the end of course marker, once the object is completed, the course will be completed);
- if we want it to be bookmarked.
Once the configurations have been set, remember to click on the “Confirm” button
“Access” icon
By clicking on the Access icon, we can decide which users to assign the learning object to. If we do not configure anything, all users enrolled in the course will see it. That is the standard situation.
Using the “access” button, we can decide that — for example — only some users or groups will be able to view this object. That comes handy for special situations.
Last icons (arrows up and down)
By clicking on the last icons, you can respectively move or delete the learning objects.
The course is now created, and the materials have been configured. We invite you to follow the other tutorials to find out how to configure the verification test, the FAQ, and the Glossary