
How to configure the Glossary L.O.
Creation of the Glossary in a course
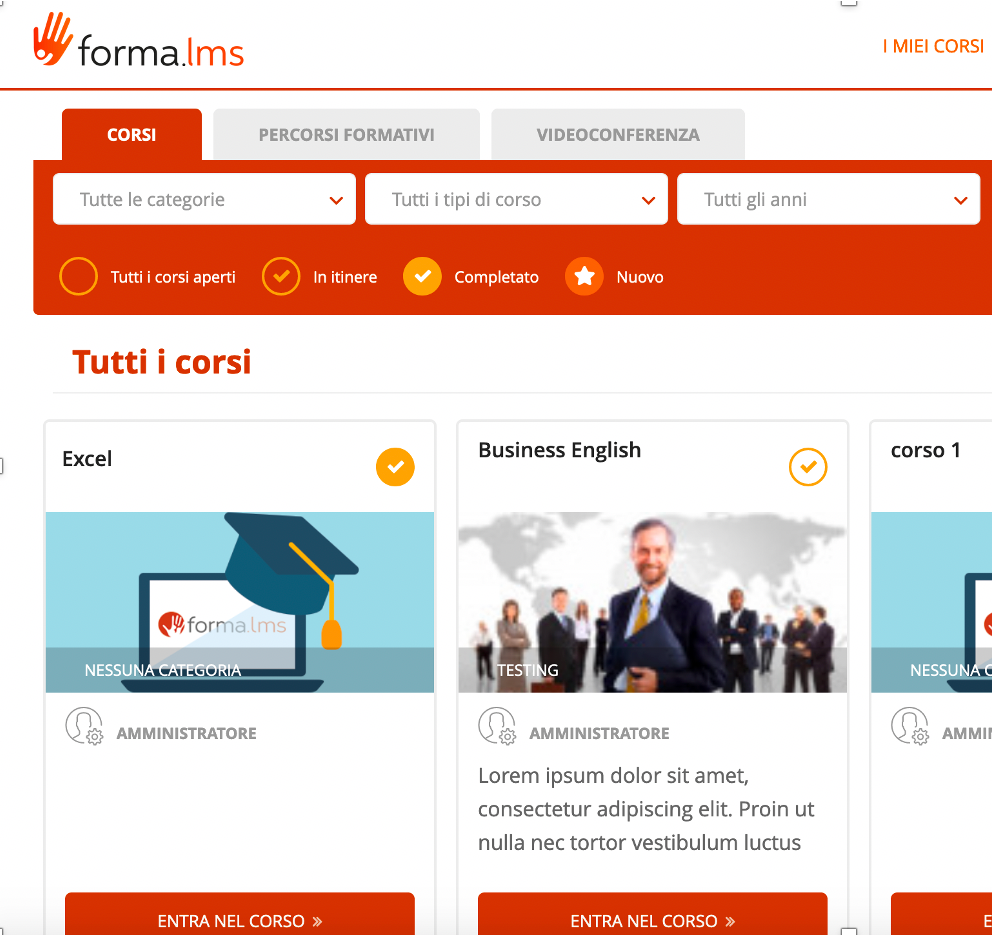
Go to Front end, click on “My courses” and click on the course title. For example, we will click on the title of the course, “Excel”.
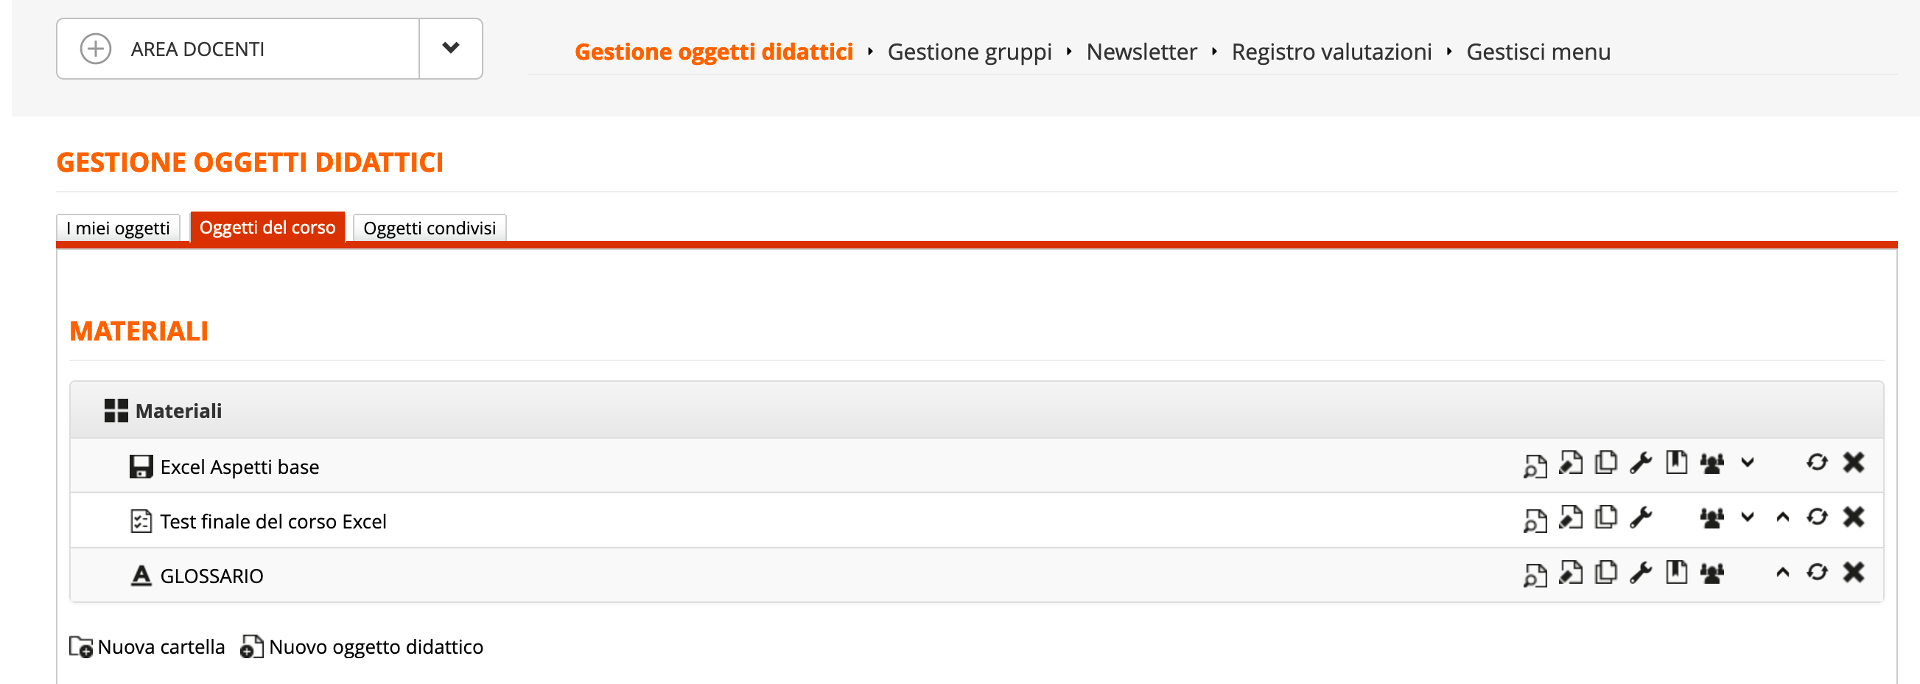
To configure the material, click on the menu item “Teachers Area / Learning Objects Management / Course Objects”
In the right part of the screen, there are all the icons that allow the different configurations.
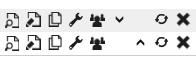
Edit icon
By clicking on the “edit” icon it is possible to set most of the configurations of the learning object.
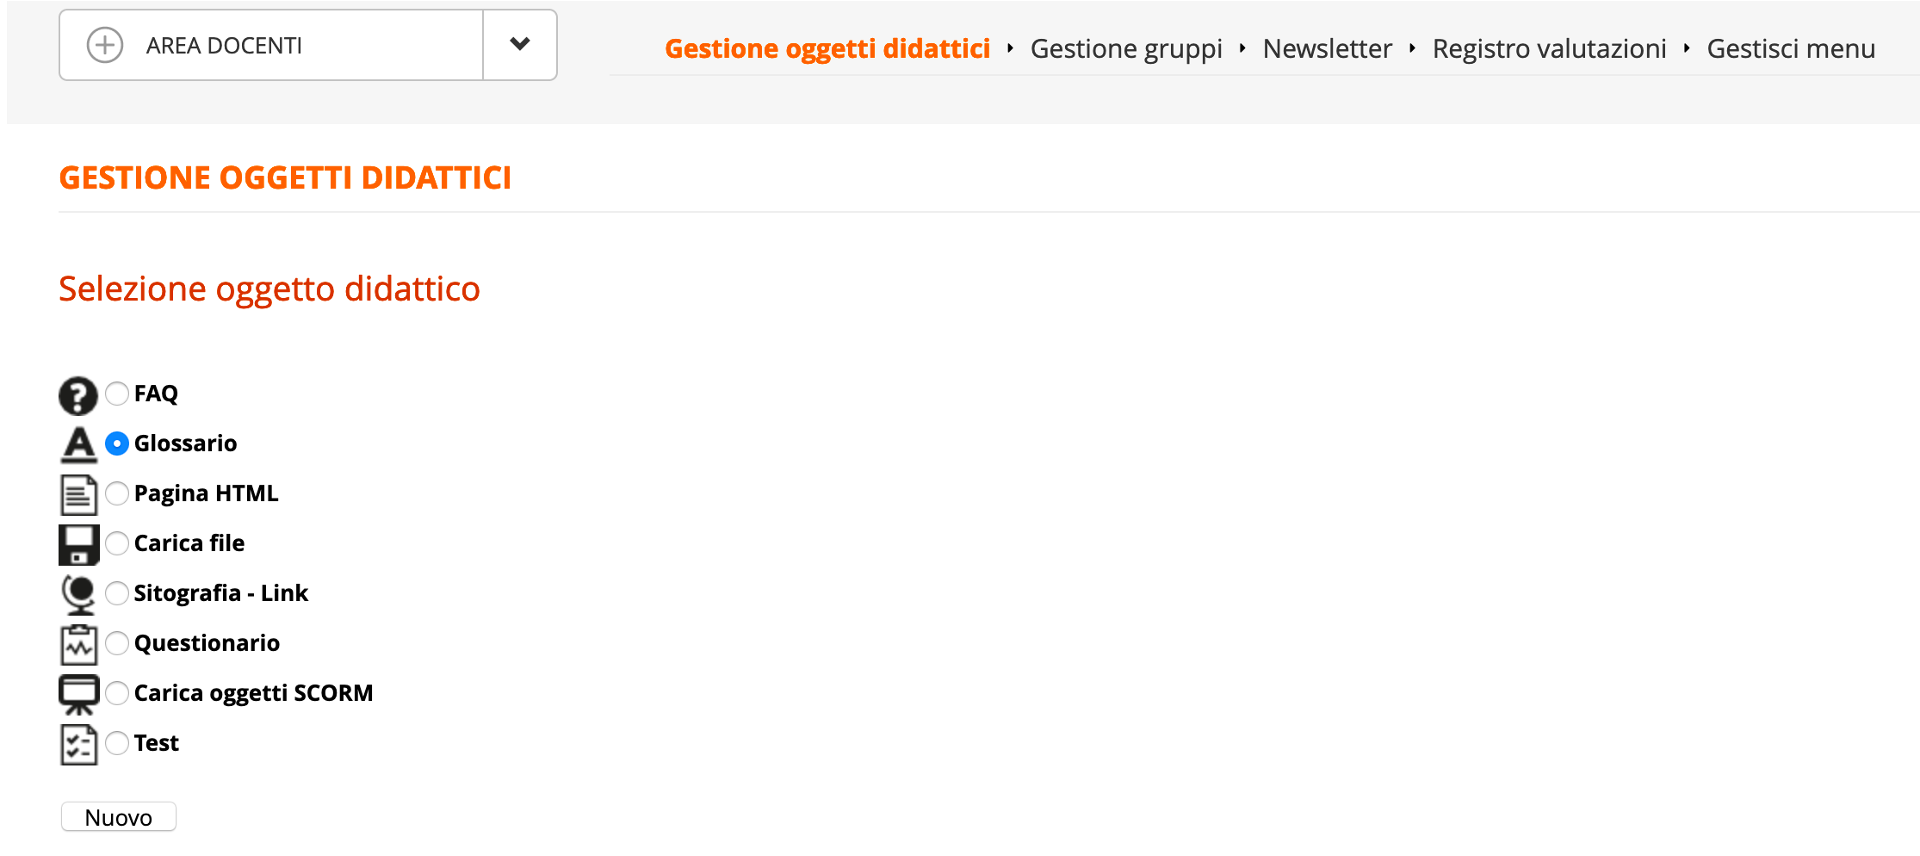
We remind you that to insert the Glossary within the course, it is necessary to click on the menu item “Teachers Area / Learning Object Management / Course Objects” and click on “New Learning Object” and check the Glossary
Edit the Glossary
To insert or modify the Glossary, click on the “Modify” icon relating to the Glossary.
In the screen below, we can proceed with the modification of the title, the insertion of new terms and the modification of those previously inserted.
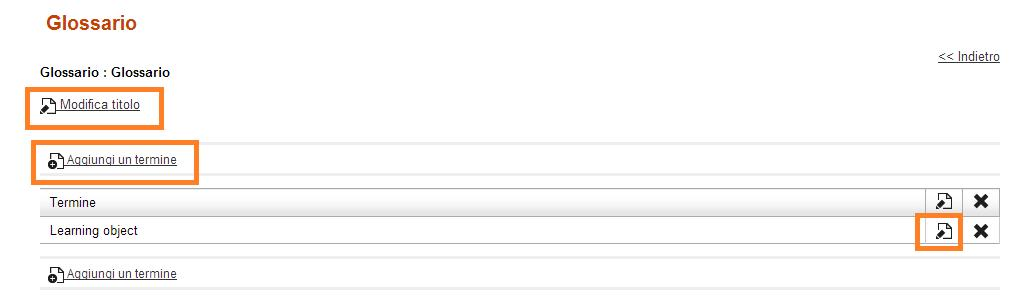
Add a new term and edit an existing term
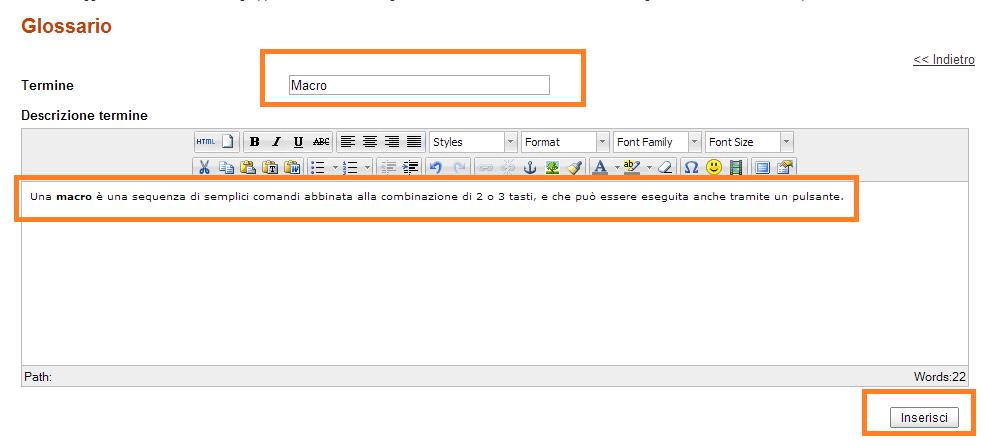
Now let's see how to insert a new term. Click on the “Add a term” button.
In the screen below, we must enter the term description and its description.
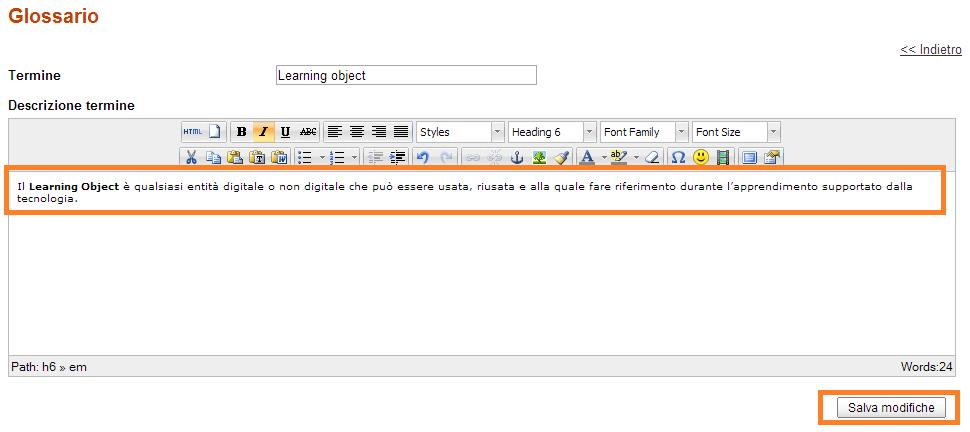
Now let's see how to modify an existing term. We can click on the edit icon for the term we want to edit.

Let's make the case that we decide to change the definition of Learning Object, simply delete the previously entered definition and write the correct one. Remember to click on the “Save changes” button.
To view the description of the remaining icons, please view the other tutorial on How to configure the learning materials.
The Glossary is now created and configured.