System Configuration
Main system configurations are available under:
Admin > System configuration > Settings
From each tab panel, you can access a different configuration section with different groups of options
Most of the options are self-explaining, we will describe the most important and critical.
Main Options
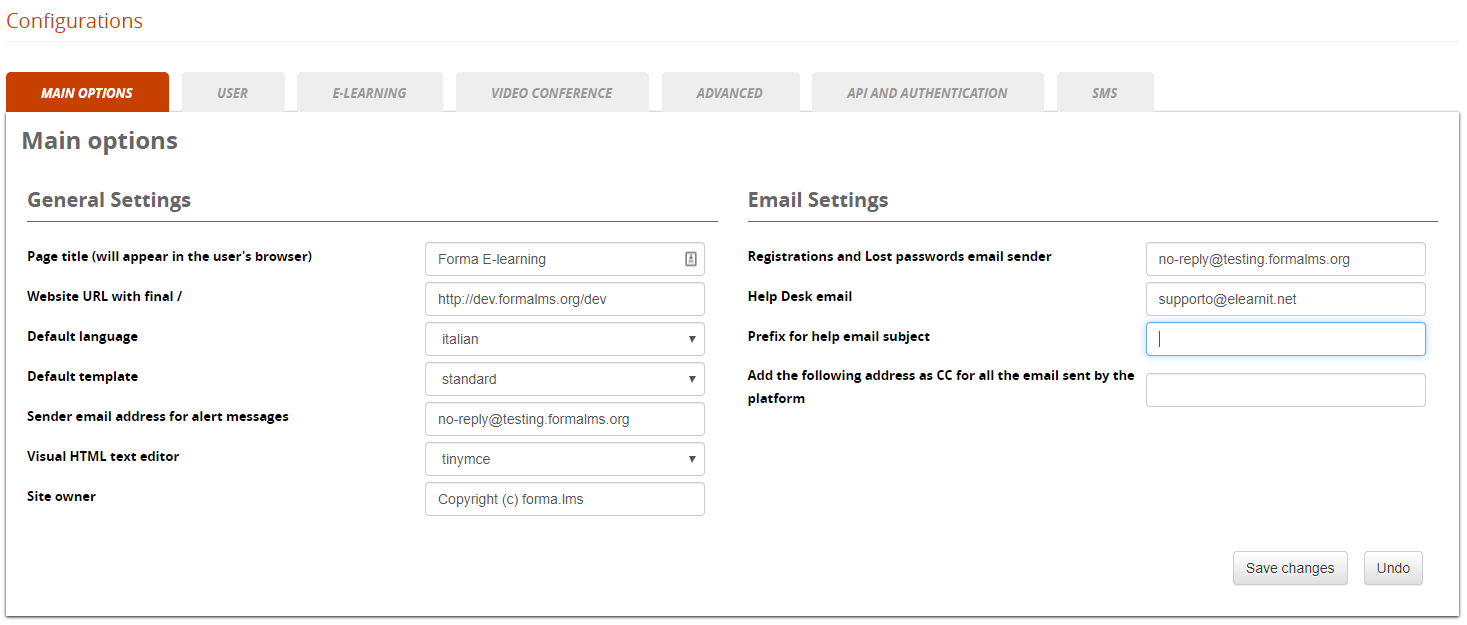
General Settings
This group of options includes the main basic configurations for your Forma LMS installation
Page Title
The name that appears in the user's browser;
Default Template
The default template assigned to the installation;
Website URL
The web address of your platform (must finish with a /)
Default language
The default language for the platform labels, if a user specific language isn't defined
Sender email for alerts
The e-mail address from which notifications are sent to users
Visual HTML Editor
The visual editor used for text formatting
Site Owner
- Text to be shown as custom footer credits in your template
Email Options
Set-ups for the general email settings for the platform
- Prefix for helpdesk
-
- Enter a text to prepend to the helpdesk email subject.
- Add CC or CCN Addresses
All the emails sent by the system will also be sent to these addresses. If you want to use multiple email addresses in those fields, please use a comma (,) followed by a space as a separator.
User
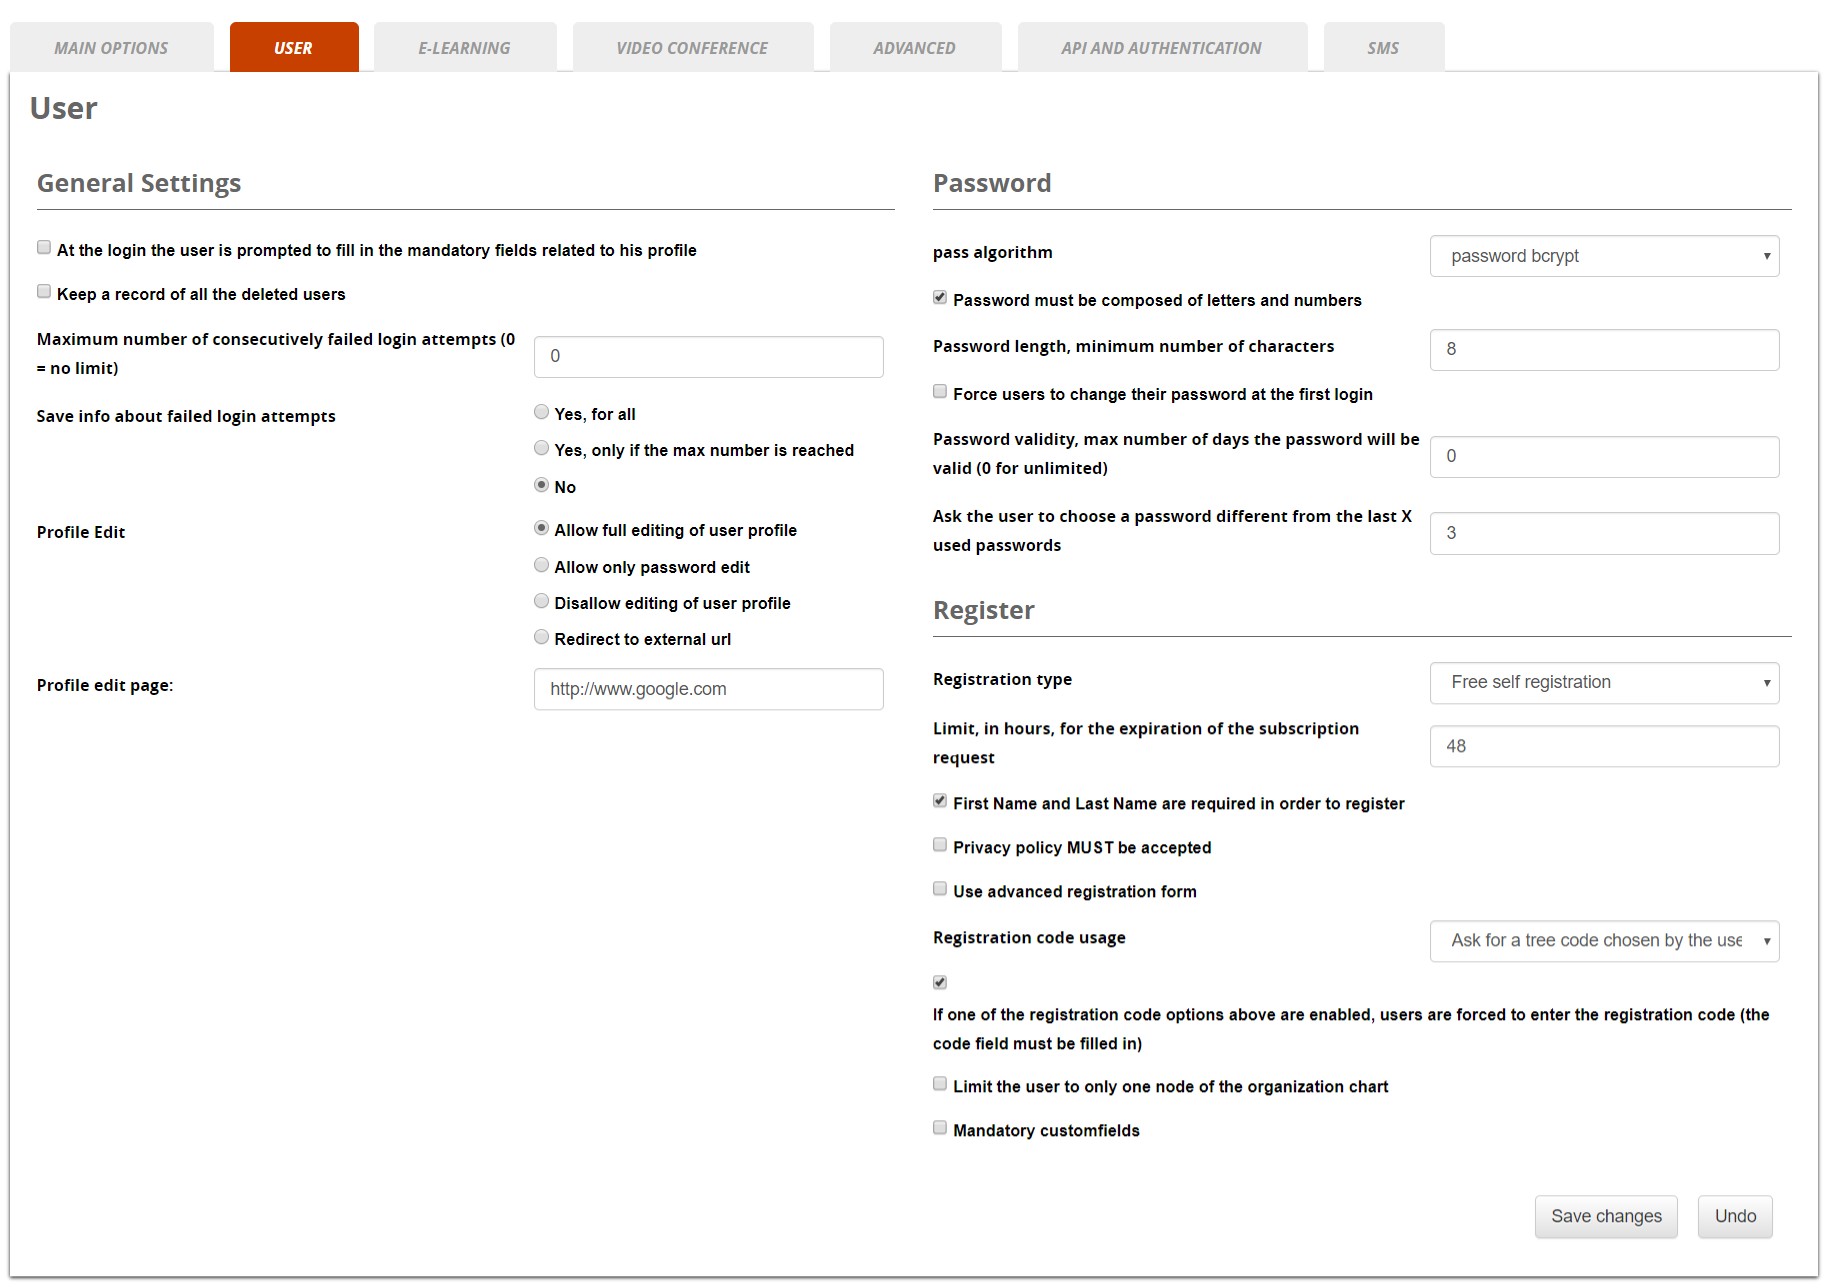
General Settings
Main settings for user related configurations: from this sectionsection, it is possible to edit:
Password
Main settings for password related configurations
Register
Settings for platform registration modes and features
Registration Types
- Free self registration
- Users can self-register directly to the platform, receiving just their credentials if a notification event is enabled (Check Event Manager for notification settings)
- Free registration with double OPT-IN
- Users will receive an email with a confirmation link upon self-registration
- Moderated self registration
- User registration must be approved by an administrator
- Only administrators
- Only administrators can register new users. Registration link on login page is disabled
Advanced Registration
Select the option “Use advanced registration form” to:
- Split registration for custom fields: users will be asked first to fill the main registration fields, while all the custom fields will be prompted on a following page
- Enable self registration to Groups: upon registration, users will be prompted with a list of groups and will be automatically added to the selected groups
Registration Code Usage
This feature extends the registration form, asking the user to select or insert a code.
This will:
- automatically insert the user in an orgchart node
- automatically enroll the registering user to some course
- both of the above
Other Options
- Limit the user to only one node
- Select to avoid users to be registered in multiple nodes
- Mandatory customfield
- mandatory customfields will be required also in administration user edit
-
E-Learning
This section includes some configuration options for frontend LMS and courses

General Settings
- Home Page
- Select the page to be shown to users after login
- Send user to catalog if not enrolled
- Redirect user to catalog if MyCourses page is set as home page but is empty
- Hide Empty category
- In the catalog page, empty categories are not listed in the side tree categories listing
- Show login catalog
- A button to the courses catalog will be shown on the login page
Ecommerce
Settings for the ecommerce features. You just need to enter your PayPal account and, if you actually want to sell courses, unflag the “sandbox” option. The sandbox would be used to run tests without actually completing the transaction, obviously when you are ready to sell your courses you don't need a sandbox anymore.
Important: if you want to use the ecommerce functions, you also have to do 2 more things
- enable the course catalog
- flag the “sell course” option when you create or edit your course, and put a price on it.

Main
Enable the “Labels” Feature
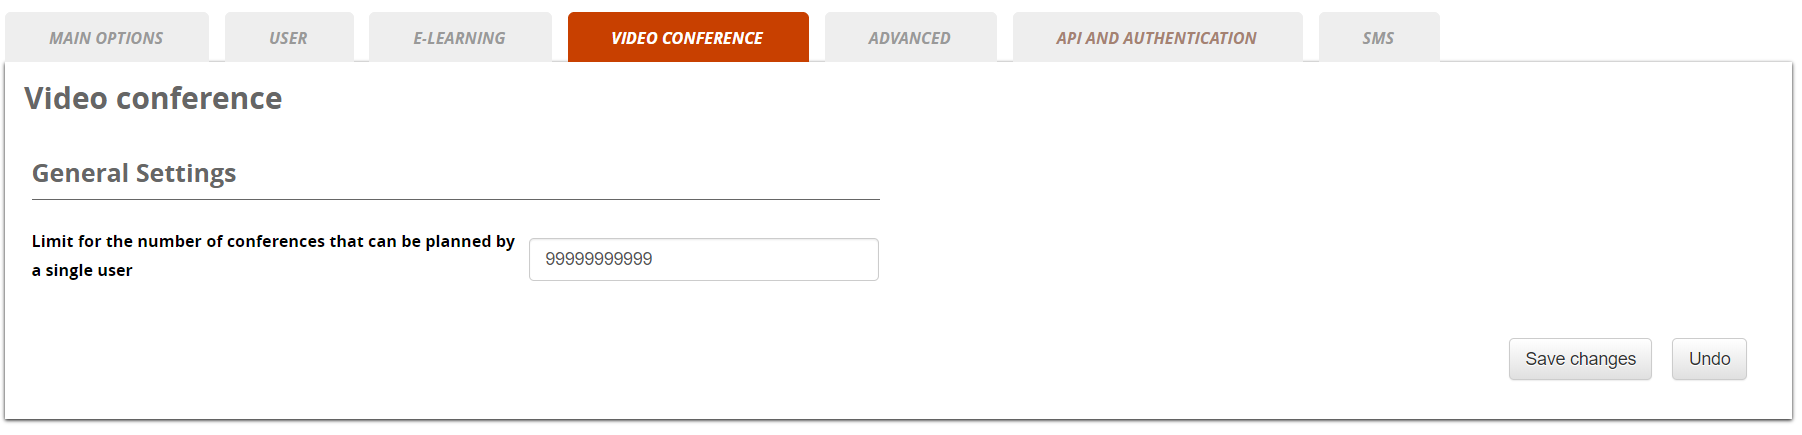
Videoconference
Advanced
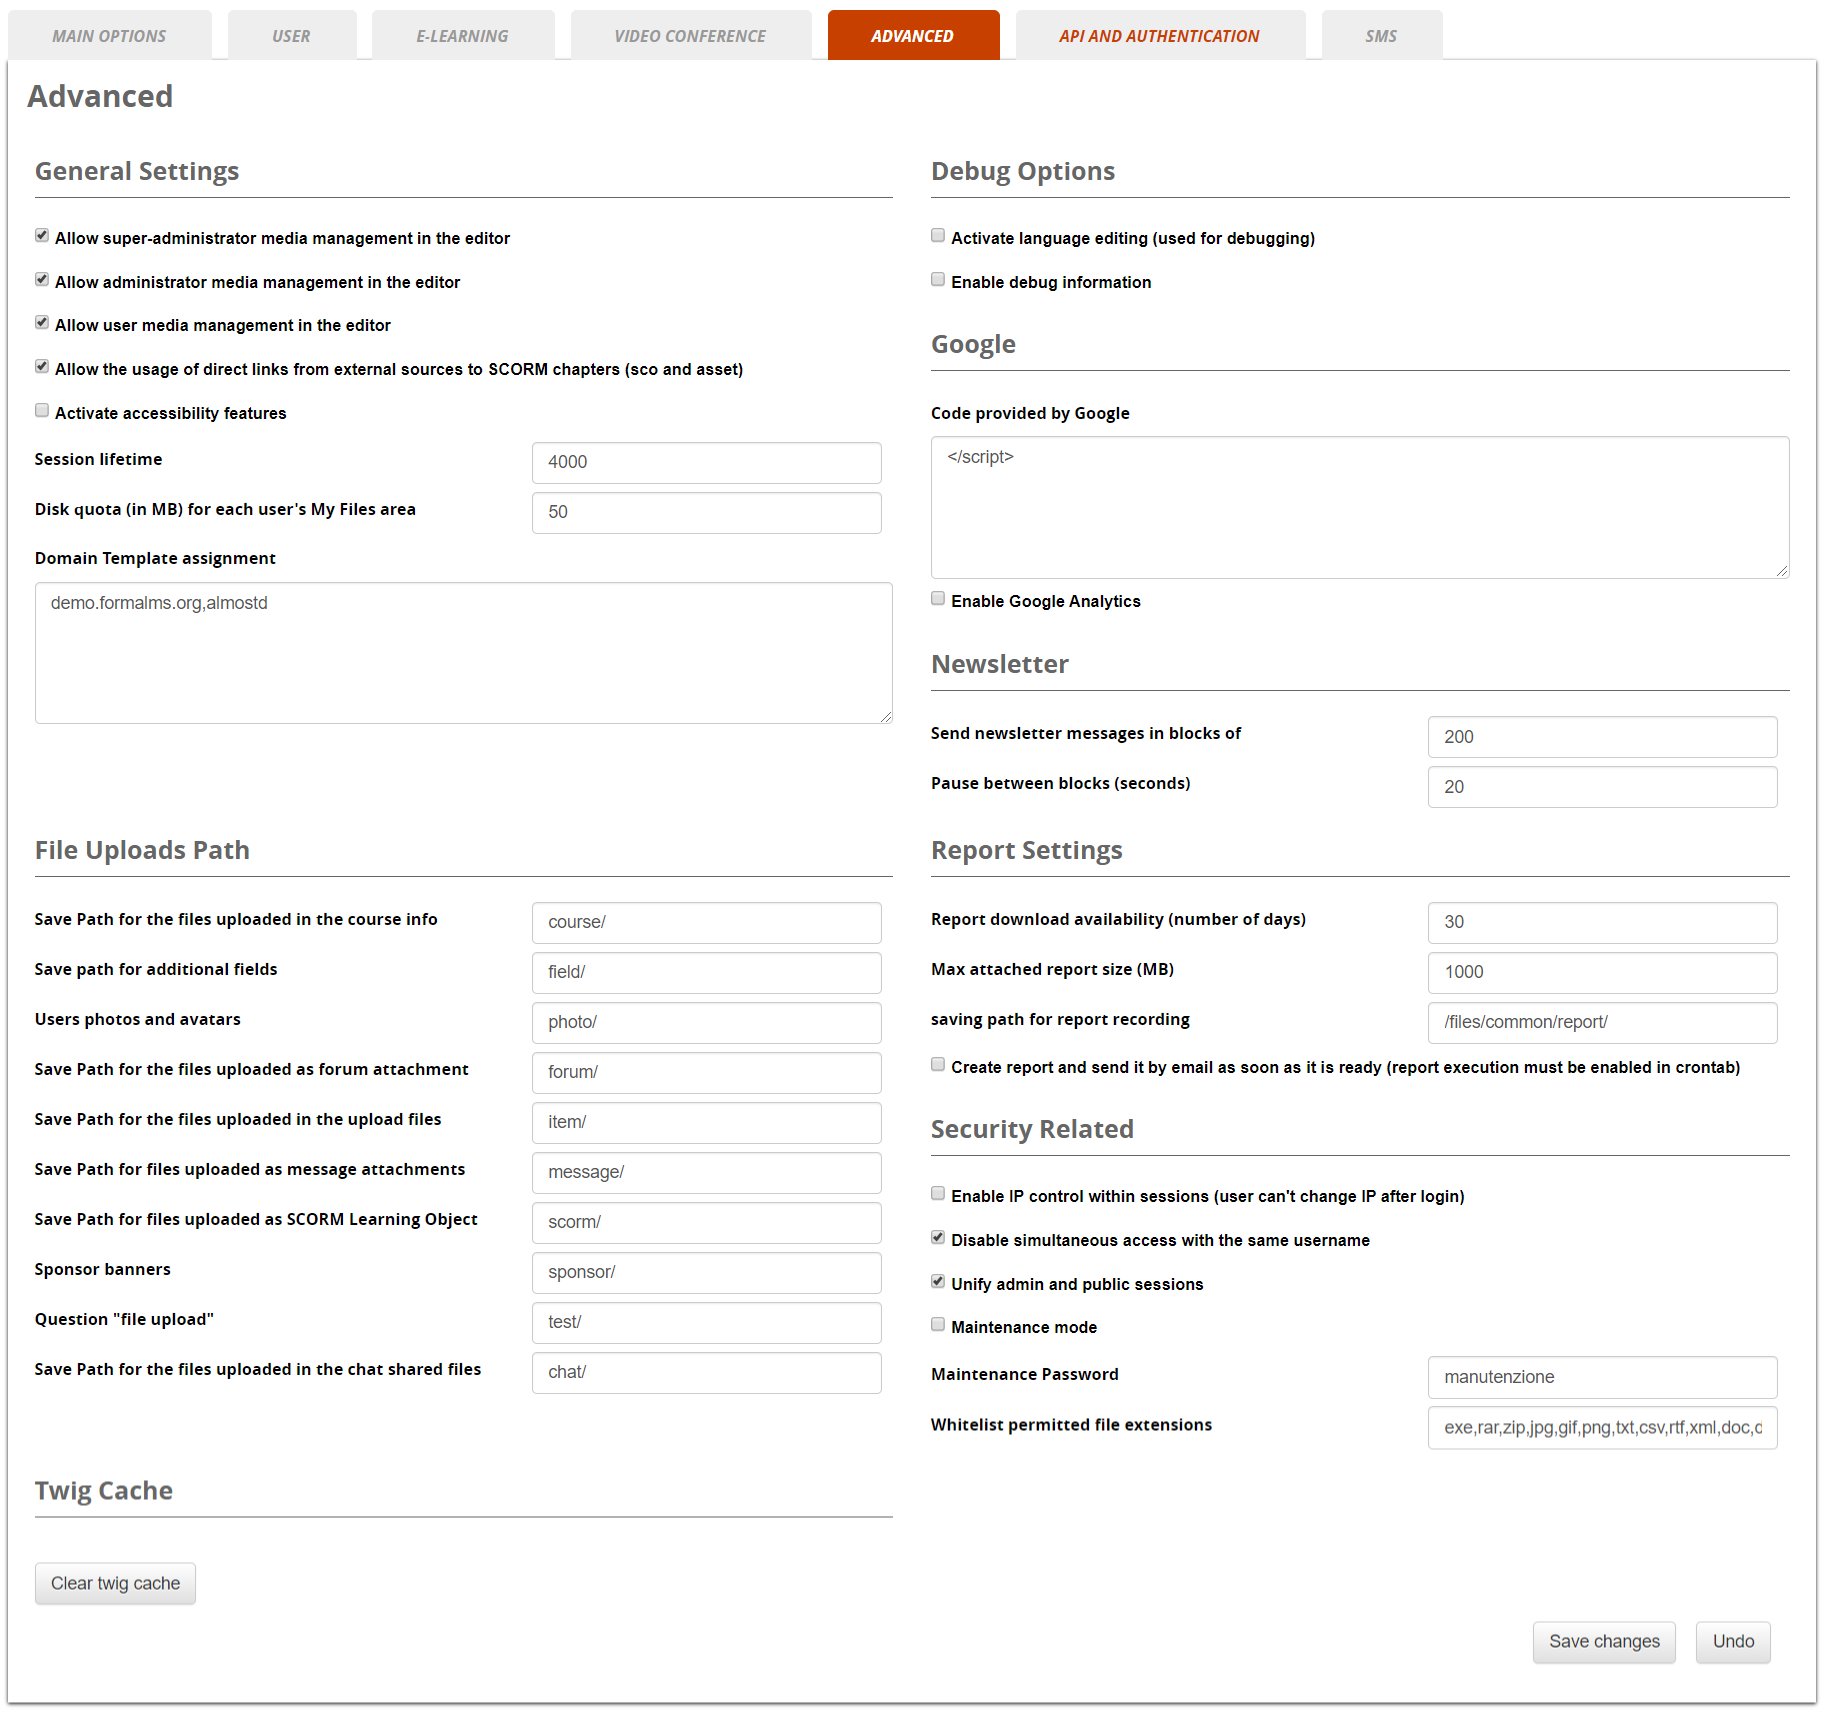
General Settings
- Session
- The period of inactivity, after which a user is disconnected (session length)
- Domain template assignment
- Set the template to be assigned to specific domains. Add one domain per row, like: [www.yourdomain.com],[template]
-
File uploads
Set the default folders for different types of asset.
Caution. Changing these paths may lead to link and display errors.
Twig Cache
Use this button to empty the Twig Cache folder in case of visualization problems after plugin install or template changes.
Debug Options
Options to enable code and language debug features
Google
Settings for Google Analytics integration
Newsletter
Settings to avoid blacklisting and antispam issues when sending emails with the newsletter feature
Report Settings
Use these settings to configure automatic report sending conditions
Security Related
Some security related options:
- IP control
- If this option is selected and the user changes connection during the same login session, he will get an error
- Disable simultaneous access
- The same user cannot be logged from different devices at the same time
-
API & Authentication
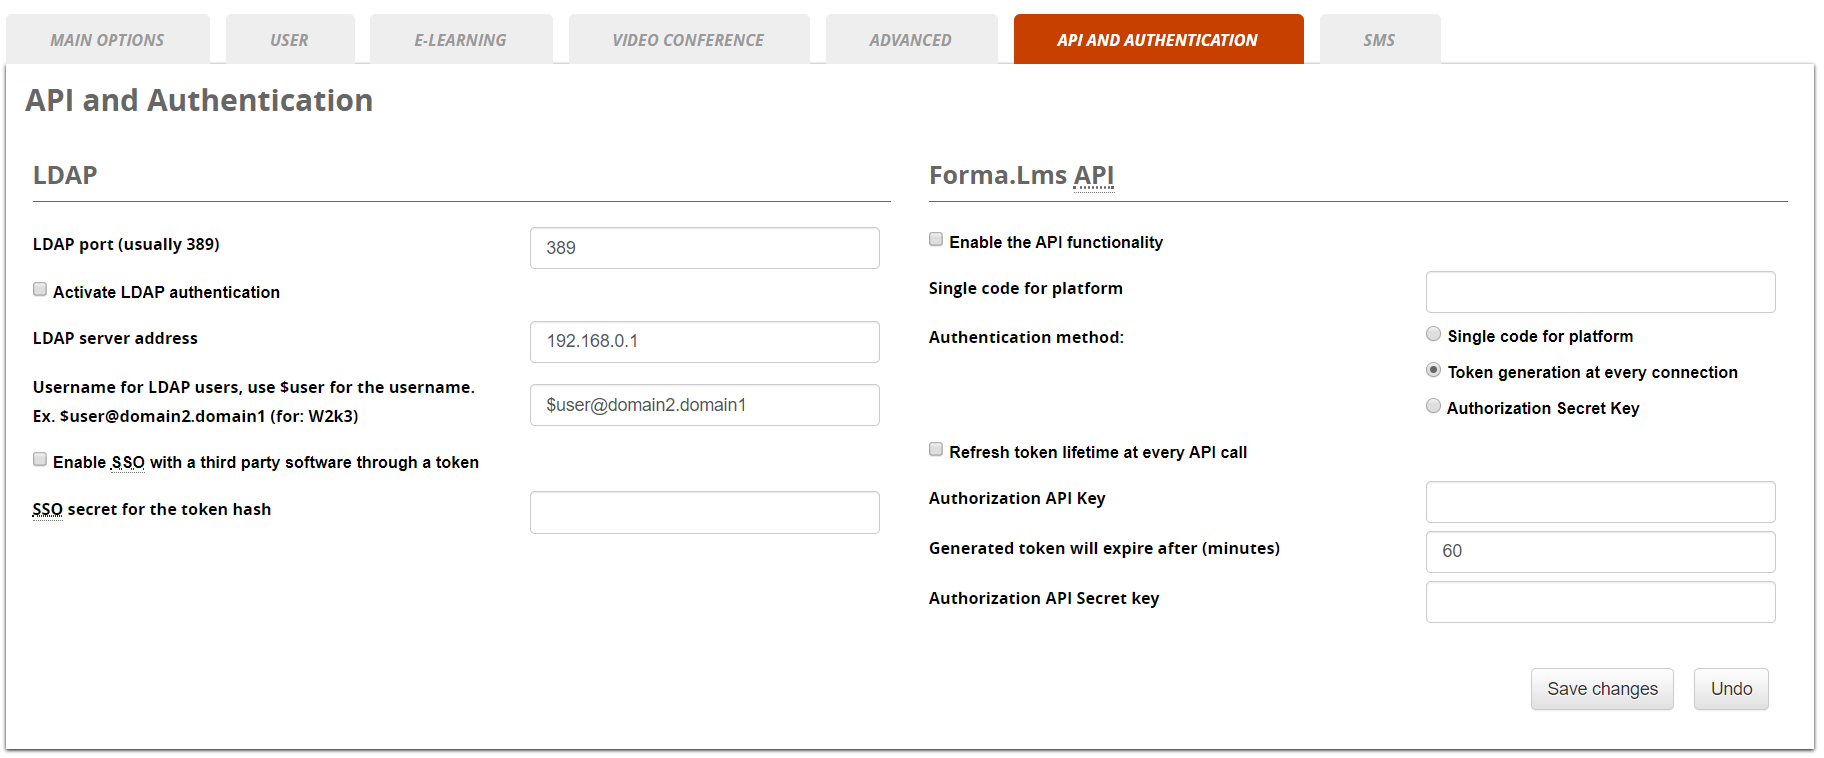
Check the API & Integration documentation for details
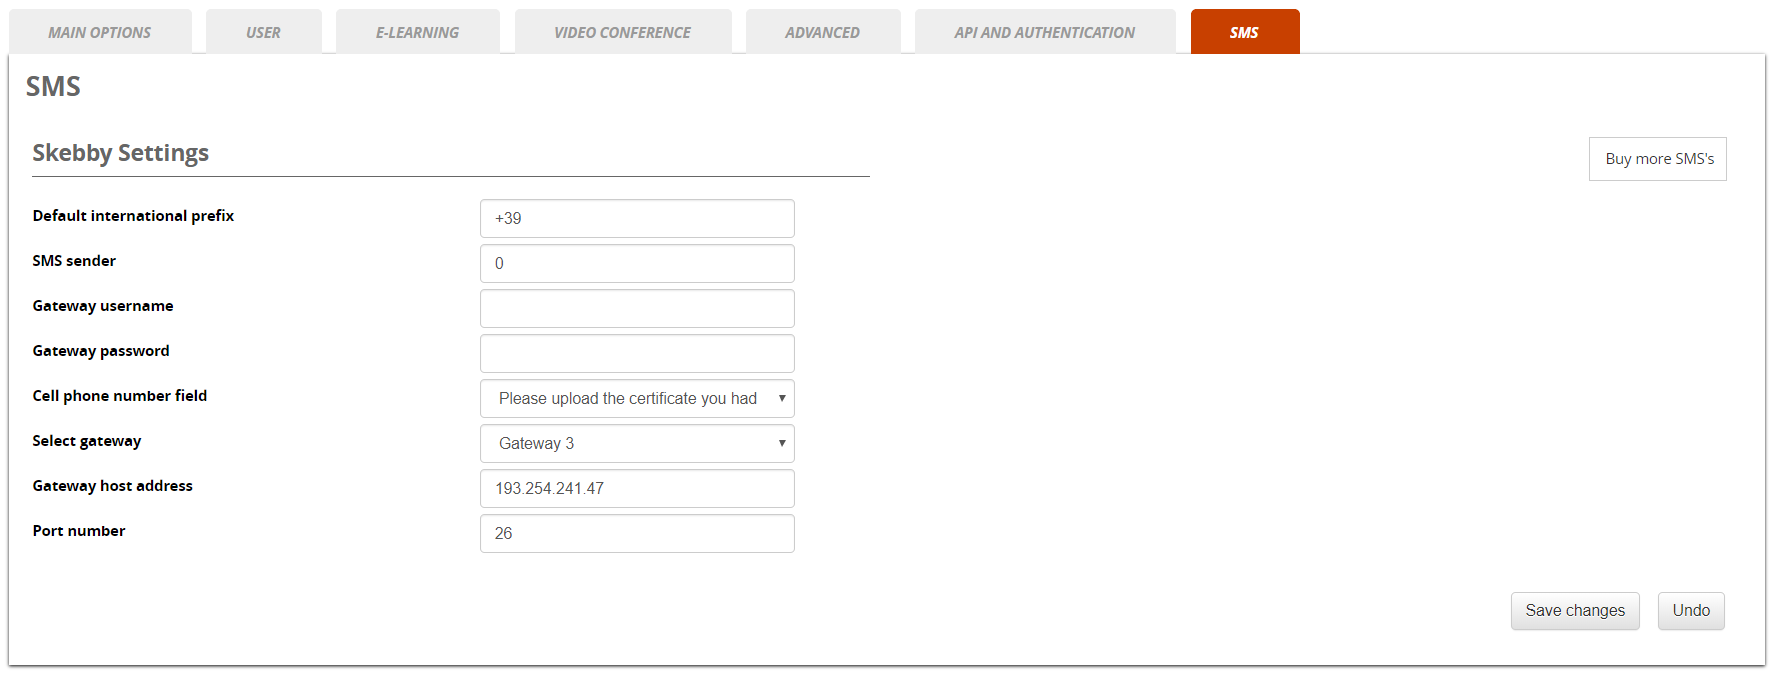
SMS
You can also send SMS from Forma. We have an integration with the popular Skebby service. Just create an account with them (click on the button), purchase credit from them and fill the required fields with the account information you will receive from Skebby.
Then you'll be able to send Forma notifications with an SMS instead of an email. Every automatic event can be configured with email or SMS from the event manager. For the manual communications, you can decide what to use from time to time.
Of course, you need to have the mobile phone number of your users in an additional field, and you need to set the correct field for the mobile number in this section.

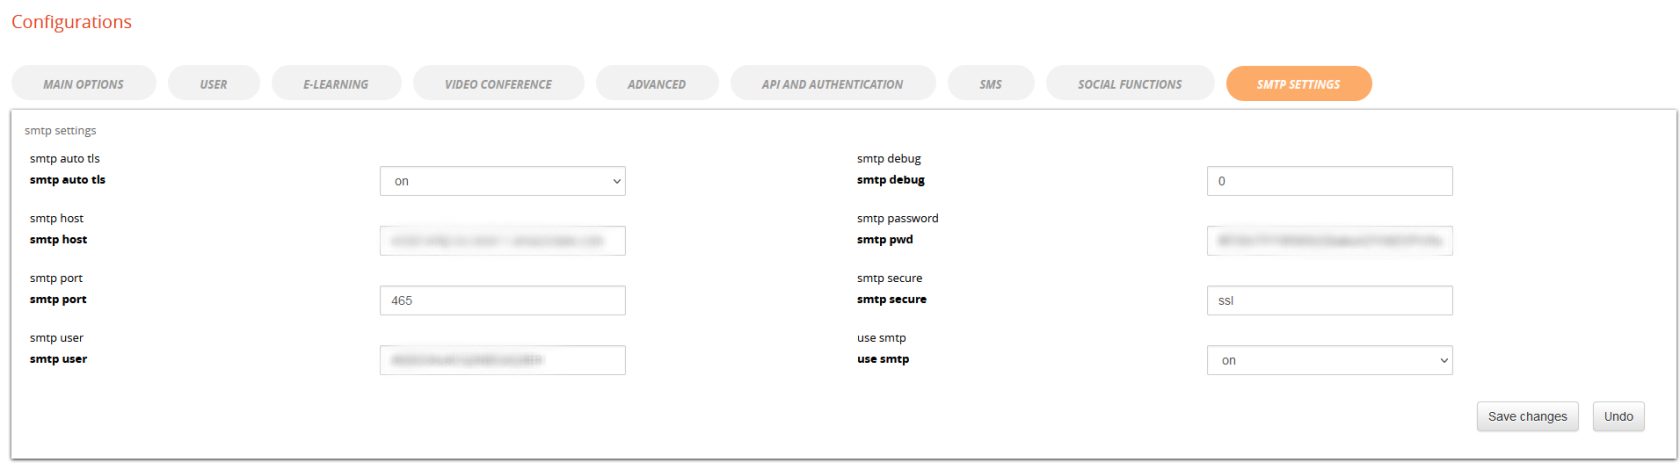
SMTP settings
If you want to send trusted and authenticated emails with one of your email accounts, remember to set these 2 parameters as “on” during the installation of Forma Lms
$cfg['use_smtp_database'] = 'on';
$cfg['use_smtp'] = 'on';
If you select that you will use the SMTP, a new tab will appear in your general settings, and you'll be able to insert your account information in your User Interface (host, port, password, username, security…).