Creating and editing a course
Here you can see all the configuration settings available for a course. This same configuration page is used for both creating a new course and editing an existing one.
Most of them are self-explaining, we will provide descriptions and details where needed:
Main course information
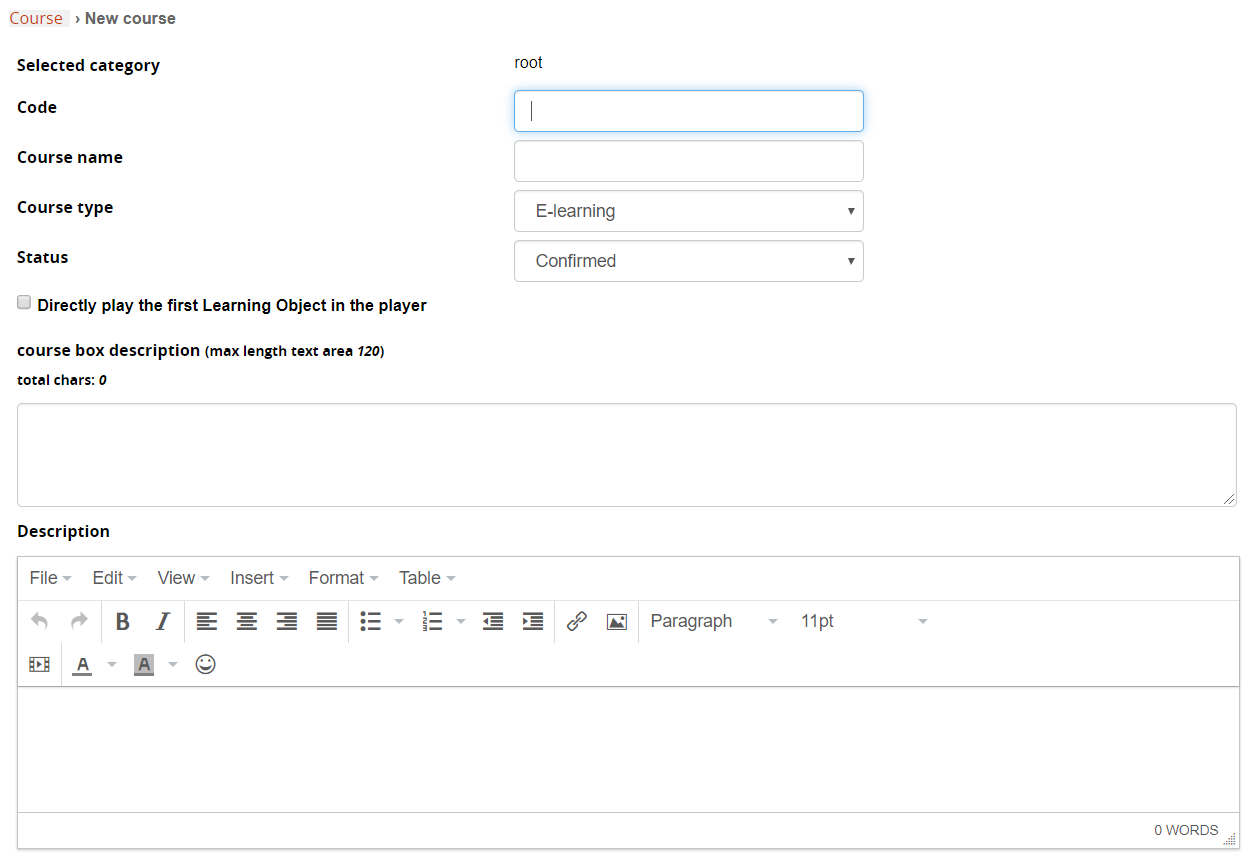
Selected Category: shows the selected category for the course. Can be changed upon course edit.
Code: enter an alphanumeric code that will help you identify different versions or releases of courses with similar titles, or to integrate course features with other applications.
Course Type: Select the course type:
- Elearning: standard elearning course
- Classroom: course with editions and classroom management
- Elearning with editions: course with edition management
Course Status: Select the status for this course:
- Under Construction: the course is only accessible to the users responsible for preparing its content (normally teachers, tutors, mentors and/or administrators);
- Confirmed/ Available: the course is accessible to the users. Confirmed is meant to be used for classroom courses, available is meant for elearning courses
- Concluded: the course is finished and only those users who have concluded it have access;
- Cancelled: the course is no longer accessible, and registration from the course catalog is no longer possible.
Directly play the first object: when clicking on the course “enter” button, the first LO will be automatically opened. Don't use this option if you have more than one LO, because it would be impossible to play the following LO's
Course Box Description: enter the text to be displayed in the “my Courses” boxes. You can also insert a link, provided you write it with the appropriate HTML Code
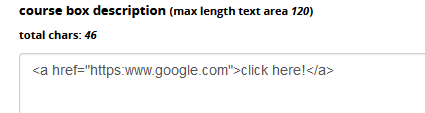
The description will then be displayed on the My Courses page and in the Catalog

Description: full description that can be shown in the “course info” module, or inserted in certificate templates with a tag.
Details

Course Language: Define the language used for course materials. This option will be useful to filter or select courses by language in catalogs, enrollment policies, administrator assignments
Difficulty: label to describe course difficulty level
Credits: credits assigned by this course, to be shown in reports and calculated through the “time period” option
Labels: assign a label to group courses with the “label” feature
Course Subscription
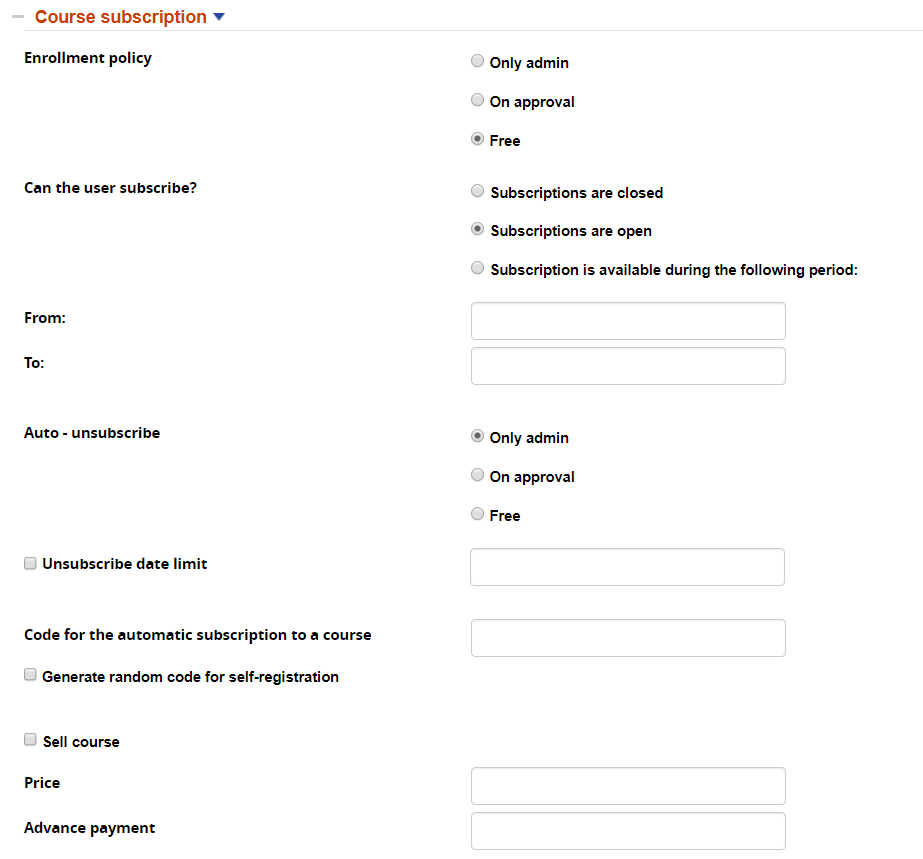
Free: the course will be displayed on the “catalog” page, and the user will have the possibility of self-enrolling
On approval: the course will be displayed on the “catalog” page, and the user will have the possibility of self-enrolling. The request will have to be approved by a manager (an admin)
Only admin: the course will be displayed on the “catalog” page, but only admins will have the possibility of enrolling users.
It might make sense to describe those options in the course description, for instance, writing “ask your manager to enroll you”.
Code for automatic subscription: lets users self register to this course, entering this code upon registration or through the code field in the userpanel
Sell course: enable this course for ecommerce features
Display mode options
The following options will let you define some aspects related to course visualization and layout elements:
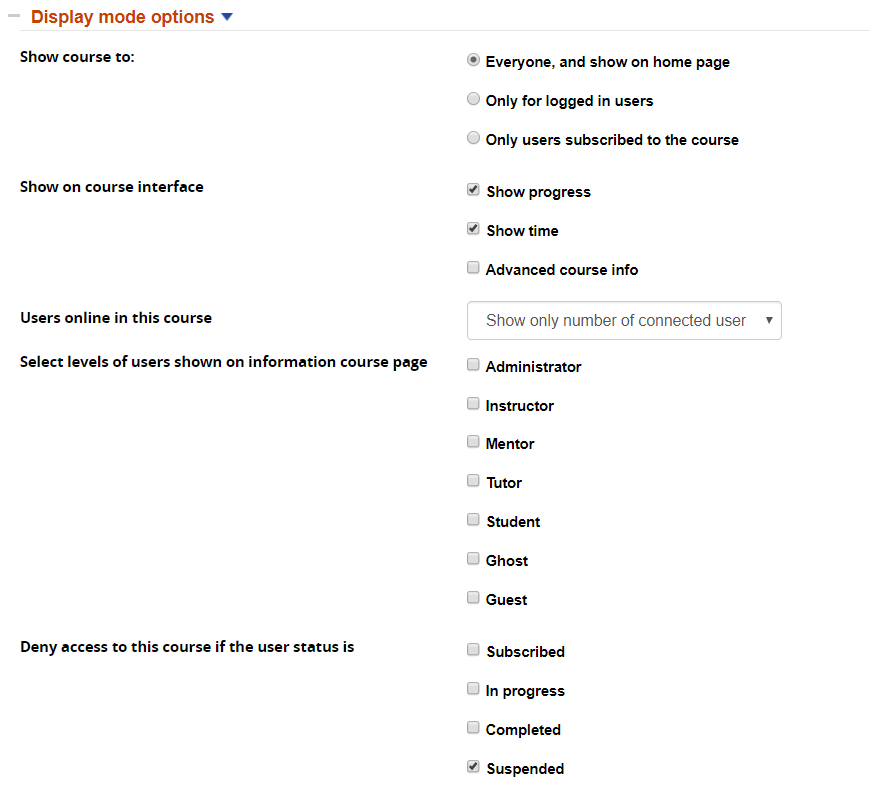
The above section describes the course visibility options. Any course can be displayed or not to users who are not yet enrolled.
Please also see the reference guide on Catalogs to learn how you can use catalogs, combining them with the displaying options.
Time options
In this sectionsection, you can configure options related to course scheduling and duration

Days of validity: course will be available to user only for the number of days defined in these fields. Time is calculated based on the date of user first access to the course.
Note: When “days of validity”is set, the course closing date shown in the course boxes on the “My Courses” page will be dynamically calculated based on each user's first access date . If closing date is set and is prior than the user calculated end date, it will be displayed instead.
Average time for course: estimated time for course fruition. It doesn't affect the usersuser's stats, but can be used in course info and in reports.
Special Options
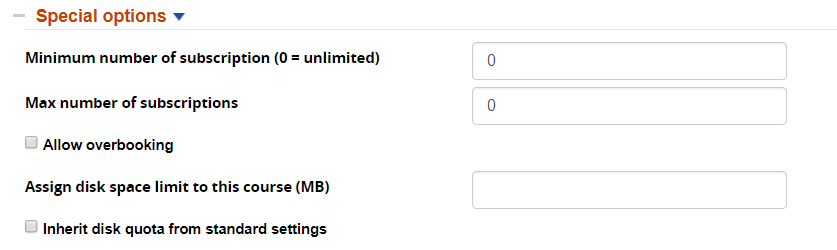
Max number of subscriptions: once the limit is reached, course subscriptions by users will be blocked
Allow overbooking: once the max-subscription limit is reachedreached, users will still be able to enroll to the course and put in a waiting list
Documents Upload
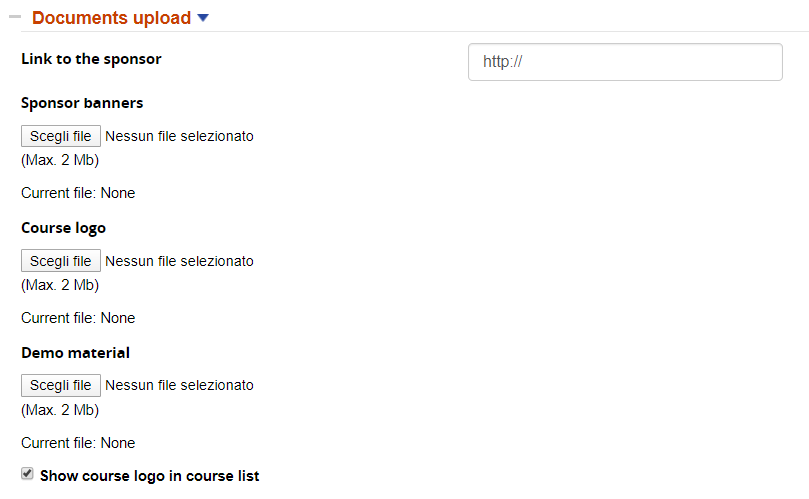
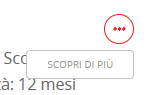
Demo material can be anything you want, and it will be displayed in the My Courses page as well as in the Catalog, like this

When you click on the three dots, you will see a clickable link allowing you to download whatever demo material you have uploaded.